Several weeks ago I was welding some stuff [Project #1, or P#1, pictures when its done] and decided it would be better if I removed the rust for painting BEFORE I did the welding as it would be a pain after it was together. I grabbed the 4.5 inch grinders, some flap disks and had at it.
A few minutes into the dirty process I thought "there has to be an easier way" and followed that with a "you know you do have a blast cabinet in the basement".
"Yes, you have had a blast cabinet in the basement for several years but have never gotten around to setting is up."
To paraphrase Darth Vader ... "The procrastination is strong in this one".
"Well then this is the project that will provide the incentive!!" was my reply to myself. So P#1 was put on hold and Tangent Project #2 [TP#2] was started.
"But you do know you will need to extend the copper air line in the floor truss over to where the cabinet is and put in a drop?". So TP#2 was put on hold and TP#3 was started. "And as long as you have all the copper stuff out you should put in part of the tubing to get to the other side of the basement where the lathe and mill are". TP#3 on hold, TP#4 started.
As one might expect TP#4 took longer than expected because there were several 2x10's in the way and I did not have a 1.25 inch bit readily available to make a hole large enough to get the 3/4 copper tubing thru. Amazon was nice enough to send me a 10 piece SpeedBor set in a couple of days. That made some nice holes and I actually managed to not burn the house down while soldering the couplings within a few inches of the floor above. As long as I was at it I actually put in a drop and a drain valve for the hose reel that had been put in between the floor trusses several years ago but never connected.
TP#4 done, back to TP#3, the line to the blast cabinet along with a drop.
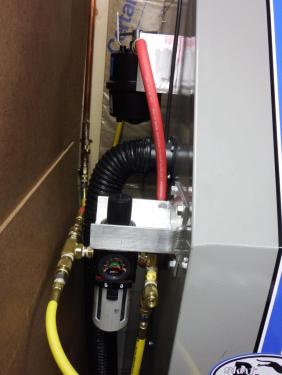
Finished that up and back to TP#2, hooking up the blast cabinet. But that meant that I had to build a bracket for the air regulator and filter. TP#2 on hold, TP#2.1 was a regulator bracket by TIG'ing and drilling some scrap bin aluminum into something that looked like a regulator bracket. Then mount it on the side of the cabinet. TP#2.1 so TP#2.2 started by installing the electrical boxes, lights and switches in and on the cabinet. TP#2.2 done, TP#2.3 was wire it all up, replace the incandescent flood lights with LED lights, plug it in, turn stuff on and off without having to call the fire department and we're back to TP#2.
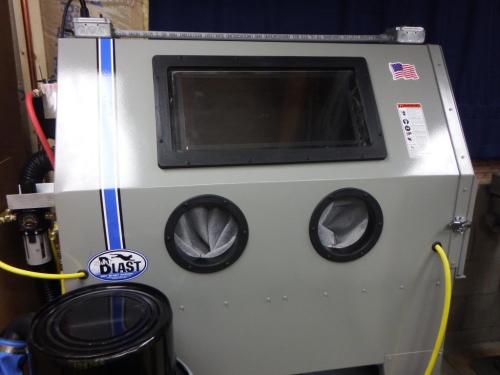
Hook the cabinet to the air drop ...

... push it back against the wall, and we're done.

Done as long as I don't actually try to use it.
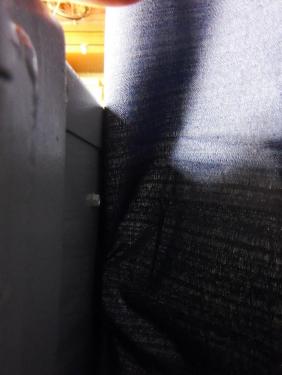
The black canister in the lower left of the picture above is the vacuum for the blast cabinet. It removes the dust from the cabinet allowing me to see what I'm doing and also captures the dust in a filter. There is 3.75 inch hole in the upper right hand corner of the back of the cabinet that allows "makeup air" for the vacuum into the cabinet. As it turns out it will let the curtain that is hanging on the window behind the blast cabinet in also.

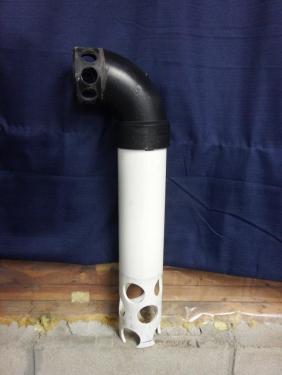
A quick trip to Menards was required to see if they had an Anti Curtain Sucker Upper [ACSU]. I was able to find one in the plumbing department though some fine tuning and assembly was required. Note that I spent the extra money for the two-tone model.

The ACSU did not come with installation instructions but I was able to figure it out.

The ACSU and blast cabinet seem to work well so I declared TP#2 done and can return to P#1 [the original intent was "to drain the swamp" seems to apply here] and begin blasting the rust off the pieces.
Arvid


![[Image: gearbox.jpg]](http://metalshop.nobucks.net/pix/gearbox.jpg)


