Posts: 8,889
Threads: 320
Joined: Feb 2012
Location: Arizona/Minnesota
The following 4 users Like EdK's post:
Highpower (08-28-2022), TomG (08-28-2022), f350ca (08-28-2022), Vinny (08-28-2022)
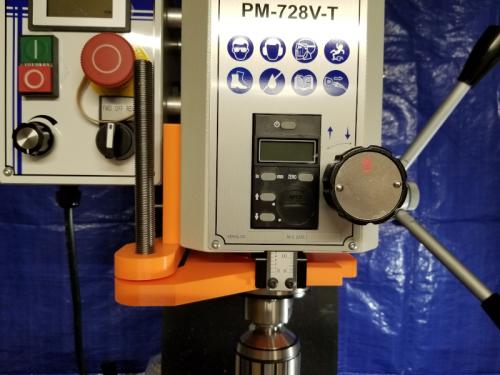
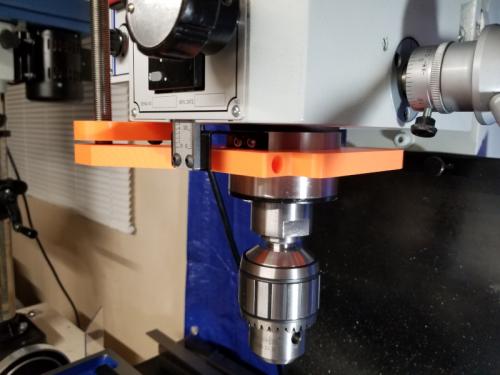
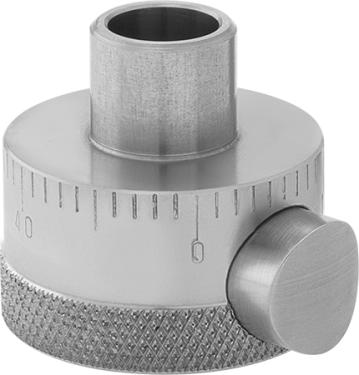
I've been working on mocking up a quill stop for the mill these past few days. Don't want to screw up the piece of 1/2" aluminum plate I bought to make it with. It's close enough now that I can tweak the arm if necessary to make it all fit together. It'll use one of those speed nuts for the adjustable stop nut.
Ed
Posts: 4,493
Threads: 187
Joined: Feb 2012
Location: Missouri, USA
Looks good. 
Willie
Posts: 8,889
Threads: 320
Joined: Feb 2012
Location: Arizona/Minnesota
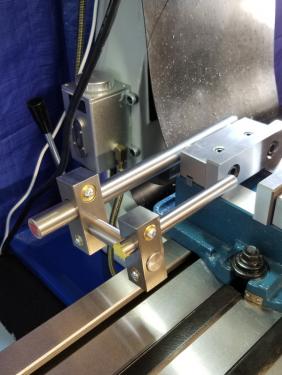
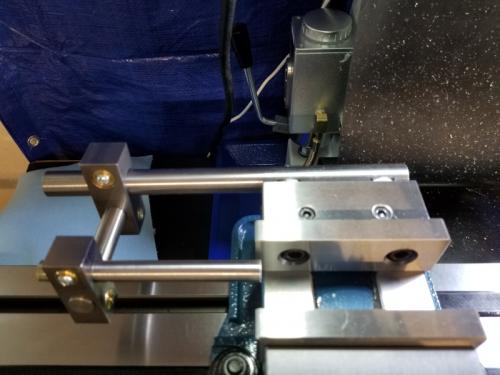
I've been working on a work stop for the mill. Finally in the home stretch. I just have to make the knobs and a few finishing touches and I can cross this one off of my long list.
Ed
Posts: 4,493
Threads: 187
Joined: Feb 2012
Location: Missouri, USA
Very nice and heavy duty. You might want to think about turning down one end of your stop rod to a small diameter (long dog point) to be able to reach in between the jaws for thin parts.
Willie
Posts: 8,889
Threads: 320
Joined: Feb 2012
Location: Arizona/Minnesota
(09-10-2022, 07:20 PM)Highpower Wrote: Very nice and heavy duty. You might want to think about turning down one end of your stop rod to a small diameter (long dog point) to be able to reach in between the jaws for thin parts.
I plan on putting an internal thread on the end of the stop rod so I can screw in various types of tips depending on the situation.
Ed
Posts: 4,493
Threads: 187
Joined: Feb 2012
Location: Missouri, USA
Even better. 
Willie
Posts: 8,889
Threads: 320
Joined: Feb 2012
Location: Arizona/Minnesota
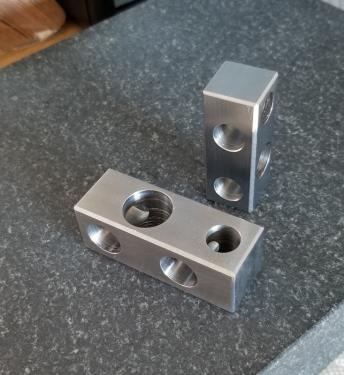
I worked on making the blocks look better. Lots of chamfers followed by sanding on some fine wet/dry paper. Everything is done except for the knobs. I'm waiting on some brass rod to arrive so I can make them.
I also got the hole drilled and tapped in the end of the stop rod so it's ready for attachments. Speaking of which, I need to make some. 
Ed
Posts: 8,889
Threads: 320
Joined: Feb 2012
Location: Arizona/Minnesota
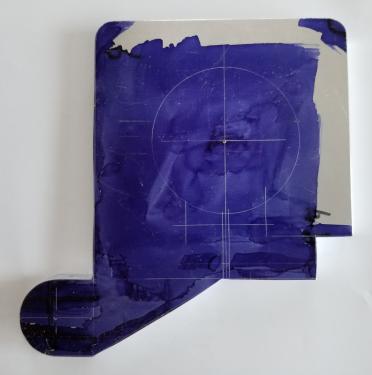
Today I worked on the quill stop for the mill. I set up the HF band saw in the vertical position and attached the table to cut out the outline from the aluminum plate. It was slow going at first so I changed the speed to the fastest pulley. That didn't help much so I changed out the original blade with a replacement blade that I had bought for the saw. The original blade that came with the saw has too many teeth per inch for cutting aluminum. The new blade has a 10/14 tooth configuration. That worked much better.
Then I attacked the plate with files to roughly create the rounded features. I'll fine tune them later. It's to the point where I can mount it onto the mill table and mill the straight sides to clean them up. Then I'll start cutting the large hole that clamps over the spindle housing. I think I'll start with a hole saw and then go to the final dimension with a boring head.
Ed
Posts: 795
Threads: 52
Joined: Mar 2012
Location: Rochester, NY
Decided I needed a set of soft jaws for the shop vise, and I refuse to pay for them. So, some aluminum angle, a couple of magnets and some sheet rubber. All of which I had laying around the shop. In fact, the rubber and angle were from the scrap bins at work, so free to me.
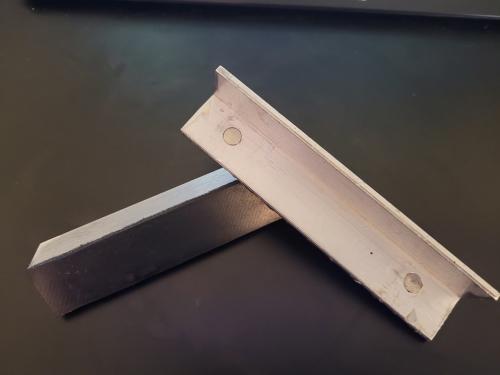
Rubber was attached to the angles with VHB tape. Magnets were pressed in. Total time about 30 minutes.
Full of ideas, but slow to produce parts
Posts: 8,889
Threads: 320
Joined: Feb 2012
Location: Arizona/Minnesota
The following 2 users Like EdK's post:
f350ca (10-12-2022), arvidj (10-12-2022)
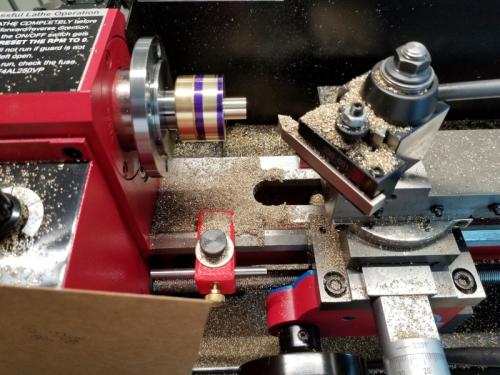
OMG what a mess! 
Ed
|


