Posts: 795
Threads: 52
Joined: Mar 2012
Location: Rochester, NY
The following 5 users Like rleete's post:
JScott (02-04-2023), TomG (02-04-2023), f350ca (02-04-2023), EdK (02-04-2023), Vinny (02-05-2023)
Whipped up a couple of keychain things. Brass. A guy at work saw some similar items on the web (round, stainless, silly expensive) and I said I could make them. Funny thing is, the guy works in the tool room, so probably could have made them himself. I bought the key rings from a local craft store.
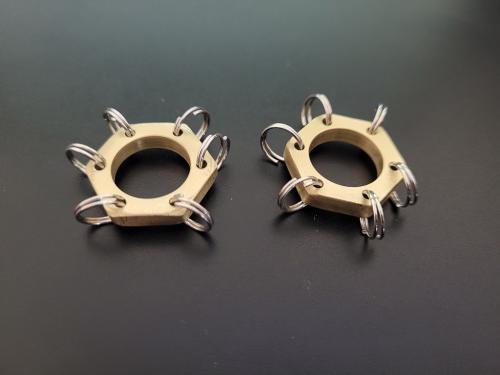
To finish, I used my new deburring wheel, purchased from Amazon: Amazon.com: AmaCupid Deburring Wire Drawing Wheels, Nylon Fibe Wheel 6 inch 5P Hardness. for Bench Grinder Buffing Machine Polishing Copper, etc.Aluminum Oxide Abrasive.80 Grit, 1/2 inch Mandrel,1 inch Thickn : Industrial & Scientific
They are about 12 bucks. They work great, giving a nice, brushed finish on everything I've tried. I would highly recommend these or something similar. The 3M ones are a bit pricey, but probably last longer. For the price, these can't be beat.
Full of ideas, but slow to produce parts
Posts: 8,889
Threads: 320
Joined: Feb 2012
Location: Arizona/Minnesota
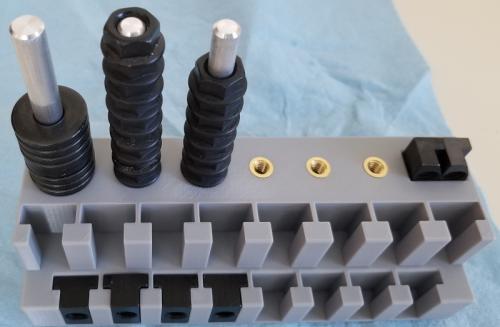
Finally got around to making the rods to thread into the holder for holding the washers and nuts.
Ed
Posts: 8,889
Threads: 320
Joined: Feb 2012
Location: Arizona/Minnesota
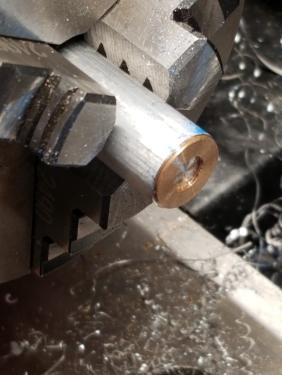
I needed a bronze or brass washer that was about .037" thick. Not to be found so I ordered one from McMaster that was .060" thick. I super glued it to the end of a rod of aluminum and chucked it up in the lathe and faced it to the rough dimension. Ended up being .033" thick which was acceptable for my application. I popped it off by prying it with an Exacto knife. Worked good. 
Ed
Posts: 8,889
Threads: 320
Joined: Feb 2012
Location: Arizona/Minnesota
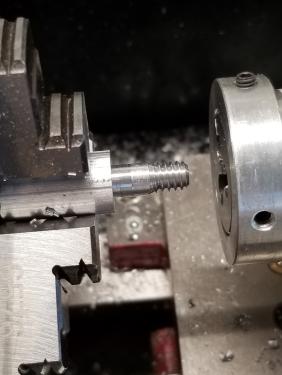
Used my die holder for the first time today to make a quick and dirty arbor. Worked good. 
Ed
Posts: 8,889
Threads: 320
Joined: Feb 2012
Location: Arizona/Minnesota
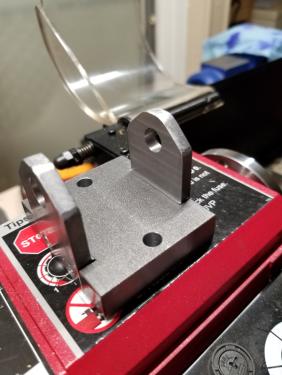
I finally got back into the shop and finished the bracket for the DRO arm. I'm going to paint it black to match the brackets that I bought from Precision Matthews.
Ed
Posts: 2,629
Threads: 101
Joined: Dec 2014
Location: Michigan
The following 2 users Like Vinny's post:
EdK (03-15-2023), Highpower (03-15-2023)
I'm guessing that's 3D printed? If not, it looks like it'd hold up a car.
Posts: 8,889
Threads: 320
Joined: Feb 2012
Location: Arizona/Minnesota
The following 1 user Likes EdK's post:
rleete (07-25-2023)
(03-14-2023, 10:54 PM)Vinny Wrote: I'm guessing that's 3D printed? If not, it looks like it'd hold up a car.
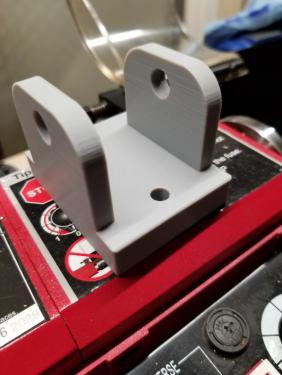
 That's the "hold up a car" version.
Here's the 3D printed version.
Ed
Posts: 795
Threads: 52
Joined: Mar 2012
Location: Rochester, NY
How did you get that surface finish?
Full of ideas, but slow to produce parts
Posts: 8,889
Threads: 320
Joined: Feb 2012
Location: Arizona/Minnesota
(03-15-2023, 08:22 AM)rleete Wrote: How did you get that surface finish?
It's cold rolled steel. That's the finish it had when I bought it. It looks like it was bead blasted in the picture.
Ed
Posts: 8,889
Threads: 320
Joined: Feb 2012
Location: Arizona/Minnesota
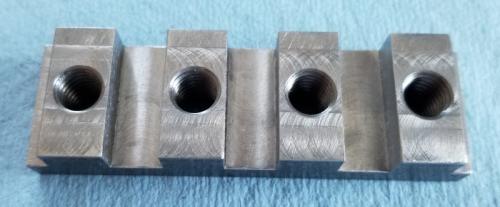
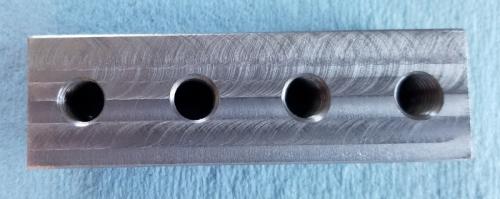
Worked on the t-nuts using the DRO. It sure was nice to be able to go from hole to hole with each tool instead of doing all of the work on each hole one at a time. Saves a lot of time. 
Ed
|


 That's the "hold up a car" version.