Posts: 90
Threads: 4
Joined: Jan 2014
Location: USA
The following 5 users Like rubes's post:
arvidj (04-04-2024), EdK (04-05-2024), rleete (04-05-2024), Vinny (04-05-2024), JScott (04-06-2024)
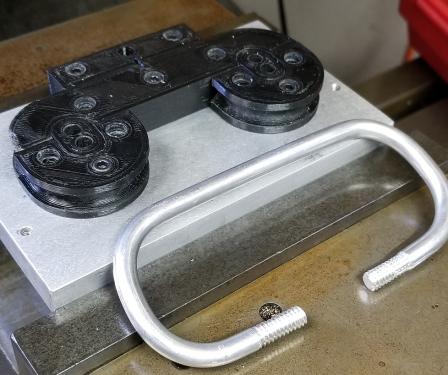
Printed some bending dies to bend up some 1/4" aluminum rods for a handle on one of the million projects on going. I've seen guys use printed dies to bend 1" DOM tubing  . Need some tweaks to the process as the initial test piece is a bit lop sided.
That is not a full radius on the ends of the handle, there is supposed to be about a 1/4" straight section between the top and bottom arcs. The rod slipped in the dies so its not symmetrical as I want it to be.
Retired old guy finally living the dream and enjoying life to the fullest!!!
Posts: 90
Threads: 4
Joined: Jan 2014
Location: USA
The following 3 users Like rubes's post:
Vinny (04-05-2024), arvidj (04-05-2024), EdK (04-06-2024)
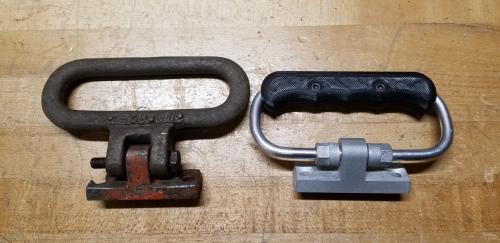
Decided I needed a grip on the handle shown above.
I'll probably "body work" the grip some, we'll see.
Now to do it all over again for the second one...ugh.
Retired old guy finally living the dream and enjoying life to the fullest!!!
Posts: 8,859
Threads: 319
Joined: Feb 2012
Location: Arizona/Minnesota
The following 4 users Like EdK's post:
rubes (04-07-2024), arvidj (04-07-2024), Vinny (04-07-2024), JScott (04-07-2024)
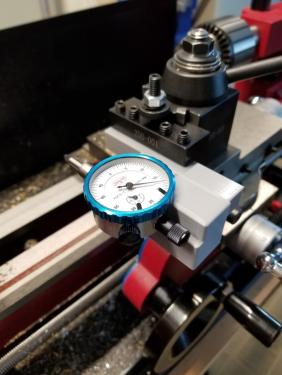
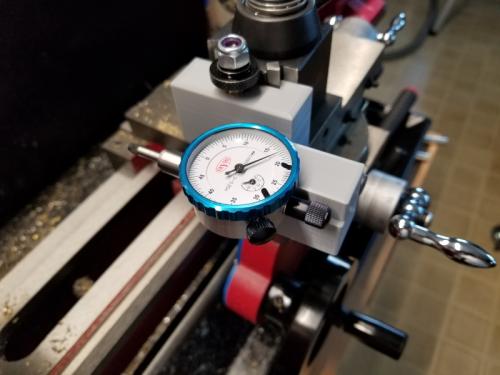
I reprinted the tool holder for the dial indicator all in PLA. There really was no reason to use a metal tool holder for it so it frees that up for another tool.
Ed
Posts: 90
Threads: 4
Joined: Jan 2014
Location: USA
The following 1 user Likes rubes's post:
EdK (04-07-2024)
I think alot of people poopoo 3D printing for stuff like this, but this is a perfect application for it. Low stress so plastic is perfectly fine. Repeatability may be a bit wider, but for this its usually all relative to your first measurement, not to the position last time it was installed. 
Retired old guy finally living the dream and enjoying life to the fullest!!!
Posts: 90
Threads: 4
Joined: Jan 2014
Location: USA
The following 5 users Like rubes's post:
f350ca (05-06-2024), Vinny (05-06-2024), EdK (05-06-2024), rleete (05-07-2024), JScott (05-07-2024)
Need to mount the ECU for the fuel injected LS1 I'm installing into my '61 Impala.
I wanted to mount it, and the relay/fuse box, on the drivers inner fender. Simple flat bracket with one bend and I wanted it horizontal and level. The inner fender is very curvey though. I didnt wanna drill holes till I knew how it was gonna work out. So I took some rough measurements for the 4 posts, and printed up a set (cheap PLA). put down some masking tape and just hot glue the standoffs where I think I want them. of course they are all kitty whompous and different heights. But now its a simple task of measuring the tilt angle, and height offsets and print a corrected set. Test them out with my CAD (Cardboard Aided Design) bracket and now stare at it for about a week to convince myself that is really how I want it. In the end, I'll either machine aluminum ones, or print in Nylon or something.


Retired old guy finally living the dream and enjoying life to the fullest!!!
Posts: 771
Threads: 48
Joined: Mar 2012
Location: Rochester, NY
Neat solution.
Full of ideas, but slow to produce parts
Posts: 90
Threads: 4
Joined: Jan 2014
Location: USA
The following 5 users Like rubes's post:
EdK (05-11-2024), JScott (05-11-2024), Vinny (05-11-2024), rleete (05-11-2024), f350ca (05-11-2024)
Another bending die. I dont have a bender for 1/2" or 5/8" tubing, and want to make custom hardline for the VintageAir A/C going in the '61 Impala. The heater core on the VA unit uses the same #10 ends as A/C connections so cant just clamp on a hose. So I bought some pre-swaged lengths of tubing. Even if I had a bender, you can never get your bend close enough to the end anyway. So 3D printing to the rescue.
But of course I messed up...after bending the 180 degree piece shown...I could not get it out of the die...duh!!!
Trying to carefully unbend it enough to get it out and it still kinked a bit. So lesson learned...print the die in two pieces (top and bottom) so you can remove the finished piece if doing full radius bends.
And dont mind the swiss cheese base...its the same piece from the previous bender shown earlier, because I hate "wasting", even if it does come out of the scrap bin.

Retired old guy finally living the dream and enjoying life to the fullest!!!
Posts: 771
Threads: 48
Joined: Mar 2012
Location: Rochester, NY
The following 2 users Like rleete's post:
EdK (05-11-2024), rubes (05-12-2024)
That's just efficient use of materials.
Full of ideas, but slow to produce parts
Posts: 8,859
Threads: 319
Joined: Feb 2012
Location: Arizona/Minnesota
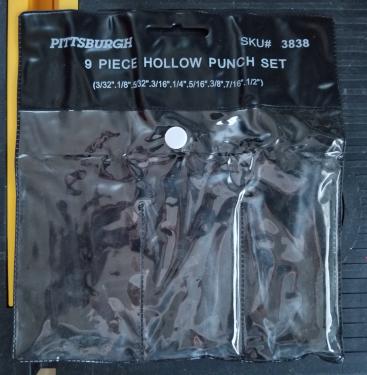
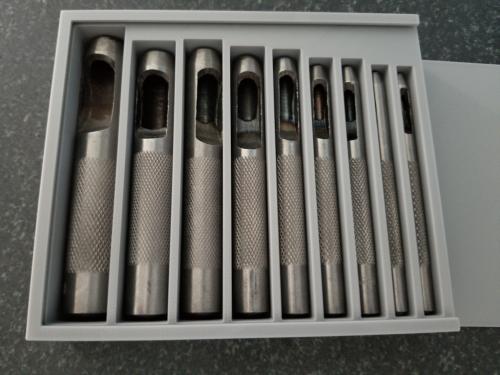
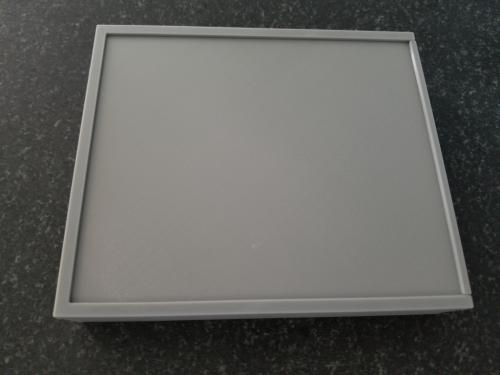
Just another box. This time for some hole punches I bought from HF. They came in one of those cheap plastic pouches.
Ed
Posts: 771
Threads: 48
Joined: Mar 2012
Location: Rochester, NY
I have that set. Not sure they deserve a custom box.
Full of ideas, but slow to produce parts
|
 . Need some tweaks to the process as the initial test piece is a bit lop sided.
 . Need some tweaks to the process as the initial test piece is a bit lop sided.


