Posts: 437
Threads: 24
Joined: Sep 2012
Location: Sicily
Hi all thanks for the comments.
Perhaps I have been so wrapped up getting the design right I forgot to mention that capacity of each cylinder is 12.7 cc. total capacity 63cc.
Most of the air cooling is in the head area and will be subject to the full blast of the prop on the thrust side of the cylinder and the exhaust area so I think this will be OK . because the oil system is a spit and hope type a fair bit of oil will be thrown about inside so this will add to the cooling.
. Pete. I cut the fins when the stock was straight because I was afraid the slitting saw may drift to one side as it started to cut
on a taper ?? Just my double breasted yellow stripe showing.
Tom the fins and spacing is .08" .
Brian.

Posts: 691
Threads: 14
Joined: Feb 2015
Location: Oakland, California
Sounds like it will be just the right size to power your bespoke moped.
Posts: 437
Threads: 24
Joined: Sep 2012
Location: Sicily
The following 4 users Like Brian's post:
EdK (11-15-2015), Mayhem (11-15-2015), f350ca (11-15-2015), JScott (11-16-2015)
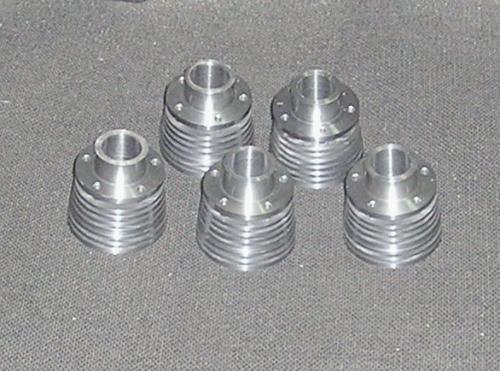
Five cylinders ready to final bore and a bit of TLC.
Brian .

Posts: 3,798
Threads: 184
Joined: Jun 2012
Location: Farmington Hills, Michigan
Posts: 437
Threads: 24
Joined: Sep 2012
Location: Sicily
The following 3 users Like Brian's post:
JScott (11-17-2015), EdK (11-17-2015), Mayhem (11-17-2015)
The cylinders have been put to one side while I wait delivery of a cylinder hone an make a go- nogo gauge.
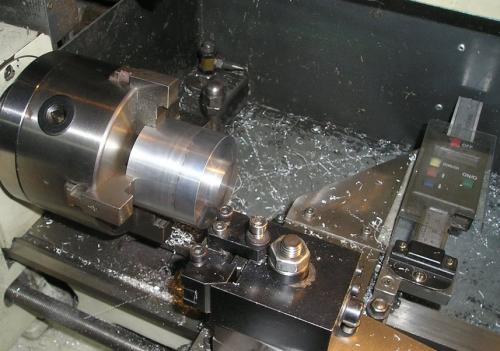
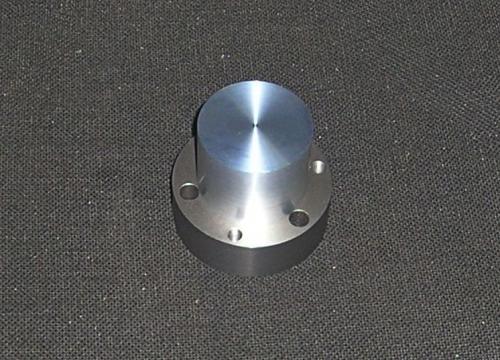
Next is the heads. the first job is to tru up the blank and turn a spigot for ? ( yep that's right ) the Jig.
Brian

Posts: 437
Threads: 24
Joined: Sep 2012
Location: Sicily
The following 6 users Like Brian's post:
EdK (11-29-2015), f350ca (11-29-2015), arvidj (11-29-2015), Mayhem (11-29-2015), JScott (11-30-2015), DaveH (12-02-2015)
I think I have a Bit of catching up to do.
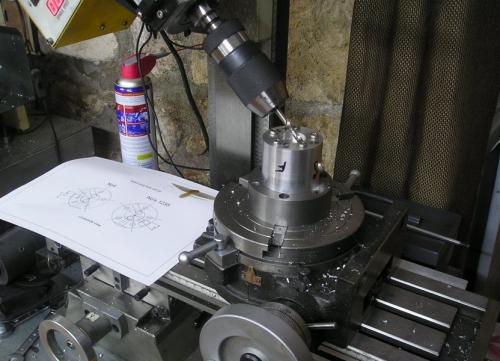
having prepared the blanks the combustion chambers where formed .
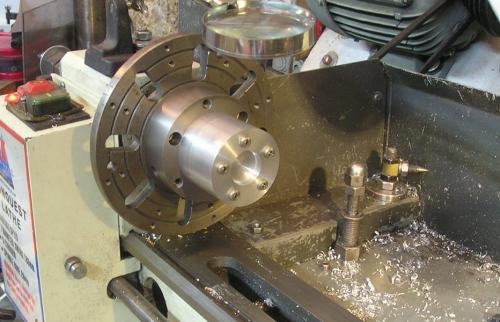
Then the mill head was tilted 45° and the holes for the plugs drilled
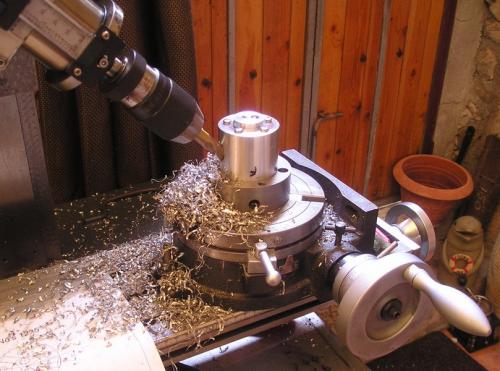
The head was then flipped over and the counter bore cut and the hole tapped.
After tramming the mill the jig was set up to drill --bore and counter bore the holes for the valve cages.
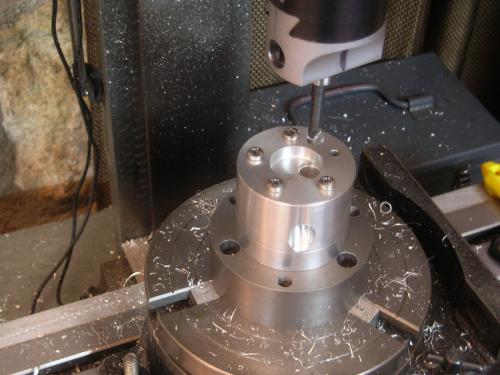
The second hole was set up by simply turning the table 180°
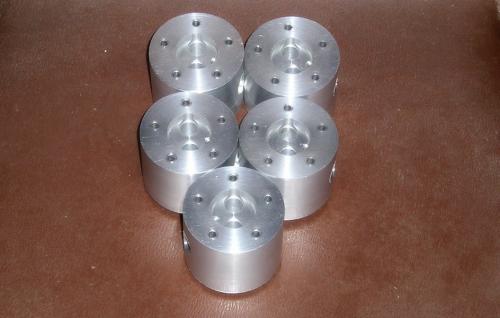
Note that the head at the front has the spark plug on the opposite side, this is #4 cylinder and it is done to keep the plug away from the oil that drains down when the engine is stationary.
Brian

Posts: 8,859
Threads: 319
Joined: Feb 2012
Location: Arizona/Minnesota
Nice work Brian.

Ed
Posts: 437
Threads: 24
Joined: Sep 2012
Location: Sicily
The following 3 users Like Brian's post:
JScott (12-02-2015), EdK (12-02-2015), Mayhem (12-03-2015)
The hone for the cylinders arrived so it was on to the mill to bring the bore to size.
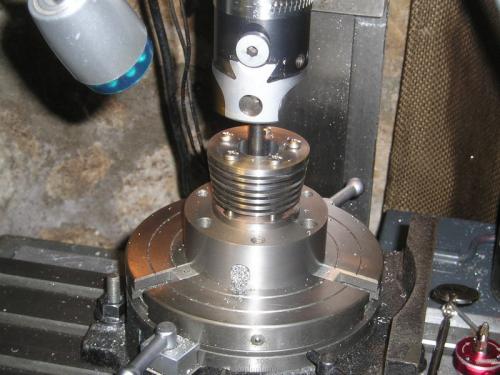
Then a quick rub with the hone.
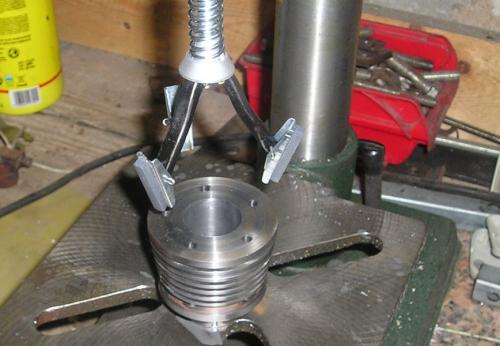
Finally the base flange was reduced and the face for the head gasket machined.
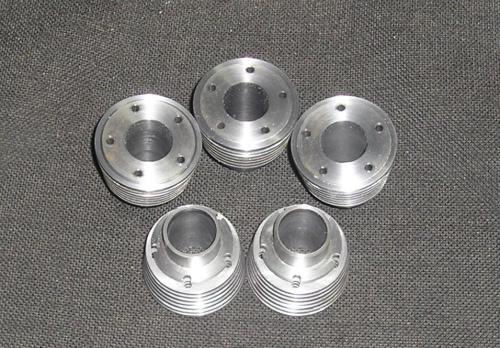
Now just the oil blacking to do.
The blank weighed 1.5 Kg the finished cylinder 300 g.
Brian.

Posts: 4,513
Threads: 139
Joined: Feb 2012
Location: Kempton Park. South Africa
Nice work Brian,
Just wondering what speed did you use for the hones and did you use any fluid?

DaveH
a child of the 60's and 50's and a bit of the 40's

Posts: 437
Threads: 24
Joined: Sep 2012
Location: Sicily
Thank you for your interest Dave that what it's all about.
The speed was 650 rpm with a squirt of WD 40 occasionally to keep the stones from clogging without the WD the hone stops cutting within a few seconds.
Brian


![[Image: TomsTechLogo-Profile.png]](http://tomstechniques.com/wp-content/uploads/2013/11/TomsTechLogo-Profile.png)


