04-05-2012, 06:30 PM
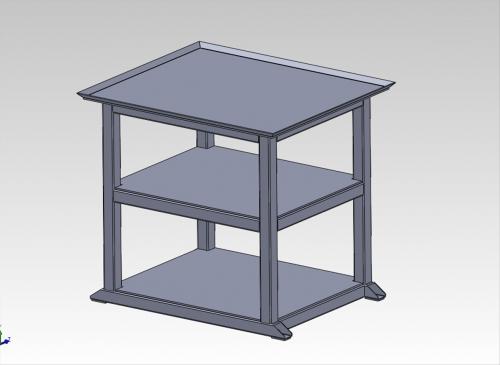
I did not want to use the ENCO stand as many people thought it was too short and not of good quality. After some internet research I designed the stand using SolidWorks. This is the third version that I ended up going with.
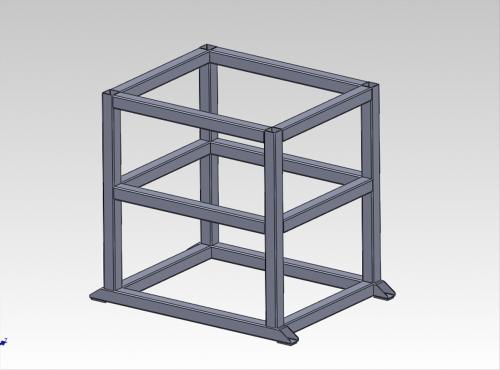
Here is a shot without the top and shelf's showing the tube construction.
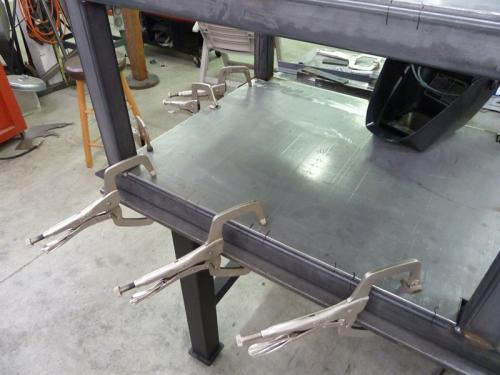
The tubing is 2x2x120" wall, it took 2 20' sticks to do the frame. I built 2 sides flat on the table then connected them. This helped get the frame square and reduced weld induced warp. The shelf's were stitch welded to the frame, again to reduce the warp from welding. Here you can see the stitch weld layout.
You can never have too many clamps.
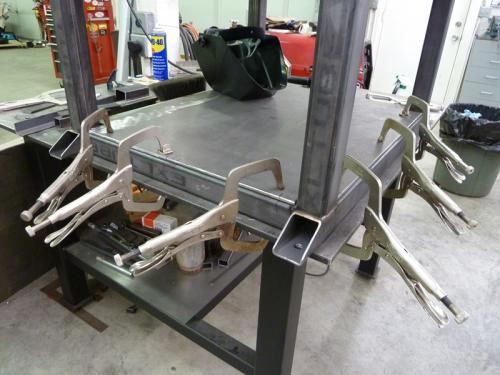
Next the top was set into place. I added two channels to reinforce the top for the weight of the mill.
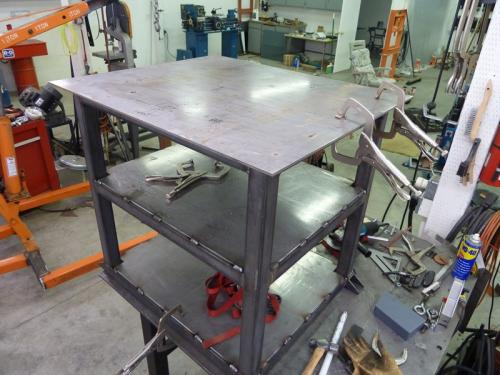
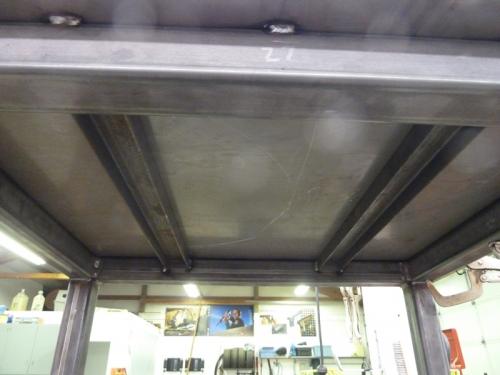
I did the final welding on the floor so I could roll the stand to get to the weld underneath. The mill mounting holes were drilled next and then into the paint booth. I used inexpensive car paint so I could get a good match to the mill's color. I tool the inspection plate off the back of the column and the paint supplier mixed up a quart. Here is the finished stand just before hoisting the mill into position.
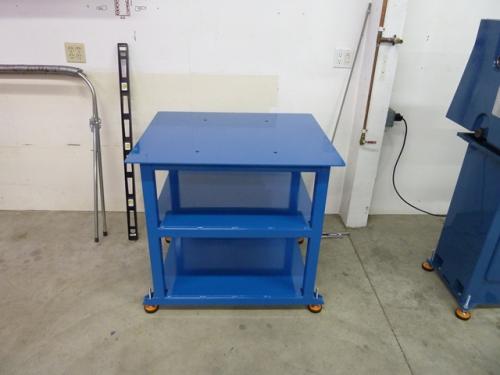
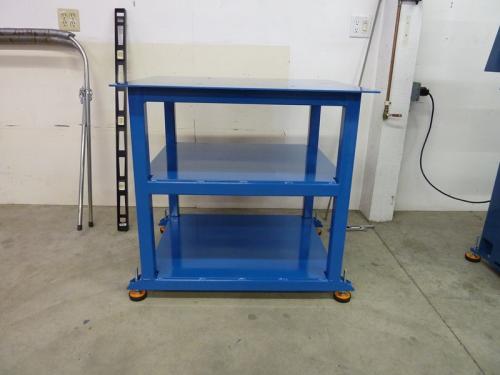
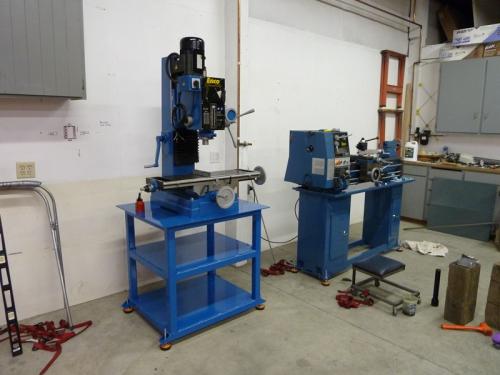
The total cost was less than the ENCO stand not counting shipping so it was will worth the effort.
Dan
Here is a shot without the top and shelf's showing the tube construction.
The tubing is 2x2x120" wall, it took 2 20' sticks to do the frame. I built 2 sides flat on the table then connected them. This helped get the frame square and reduced weld induced warp. The shelf's were stitch welded to the frame, again to reduce the warp from welding. Here you can see the stitch weld layout.
You can never have too many clamps.
Next the top was set into place. I added two channels to reinforce the top for the weight of the mill.
I did the final welding on the floor so I could roll the stand to get to the weld underneath. The mill mounting holes were drilled next and then into the paint booth. I used inexpensive car paint so I could get a good match to the mill's color. I tool the inspection plate off the back of the column and the paint supplier mixed up a quart. Here is the finished stand just before hoisting the mill into position.
The total cost was less than the ENCO stand not counting shipping so it was will worth the effort.
Dan
Collecting tools for 30 years.


