Posts: 8,860
Threads: 319
Joined: Feb 2012
Location: Arizona/Minnesota

I enjoy watching your progress.
Ed
Posts: 2,685
Threads: 29
Joined: Feb 2012
Location: Nova Scotia, Canada
The uninformed (me) would like to be informed about " the Archimedes drill" . it looks like it may be like a "YANKEE PUSH PULL Drill "
Am I even close ?
Busy Bee 12-36 lathe, Busy Bee Mill drill, Busy Bee 4x6 bandsaw, Homemade 9x17 bandsaw, Ad infinitum.
Posts: 437
Threads: 24
Joined: Sep 2012
Location: Sicily
Hi Steve
Archimedes invented his drill about the time when the Indians ruled America.
It's very useful for enlarging center marks, it even allows you to correct marks that are off by angling the drill.
Yes it's a push pull drill some have a spring return. It's one of my favorite tools.
Brian
Posts: 437
Threads: 24
Joined: Sep 2012
Location: Sicily
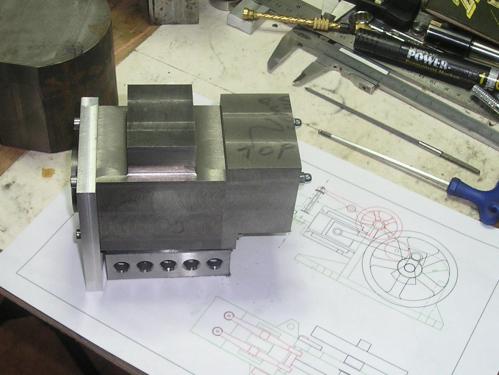
The next stage was to fit the head blank in the same manner that the front plate was fitted, this now gives me a full set of bolt holes so I can assemble the barrel and liner with it's gasket and "o" ring, (but without the head) and mount it on the mill to final finish the liner bore. Just waiting for the "o" ring.
Brian.

Posts: 437
Threads: 24
Joined: Sep 2012
Location: Sicily
The following 2 users Like Brian's post:
EdK (05-24-2014), stevec (05-24-2014)
05-24-2014, 07:52 AM
(This post was last modified: 05-24-2014, 07:57 AM by Brian.)
The next job was to cut the 45° space for the "O"ring.
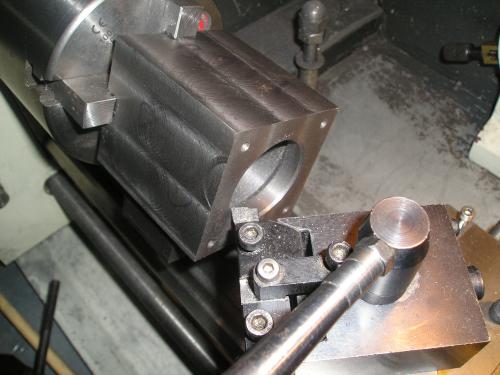
Then the assembled barrel and liner was set up in the mill To finish the bore. It took a lot of passes to get the taper out of the bore caused by the tool springing. I am so glad I modded the X to power feed.
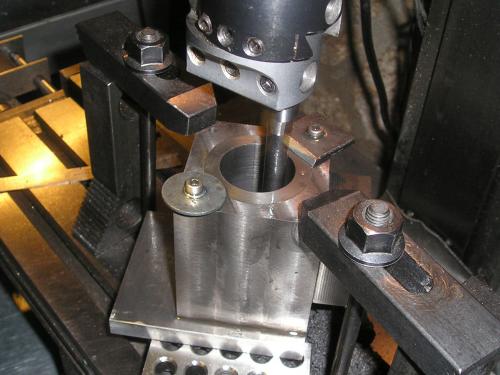
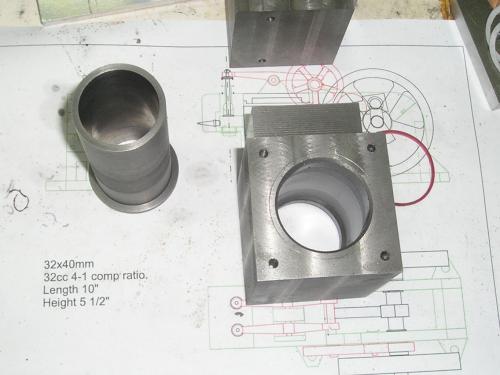
The piston was then turned to size and lapped to fit.
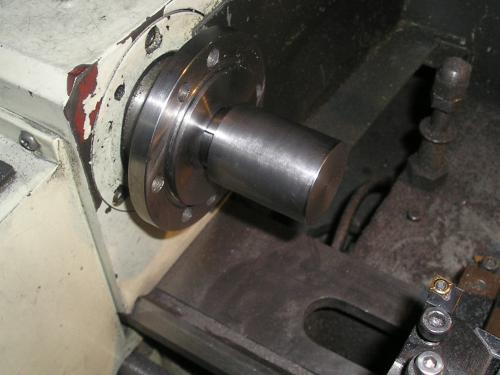
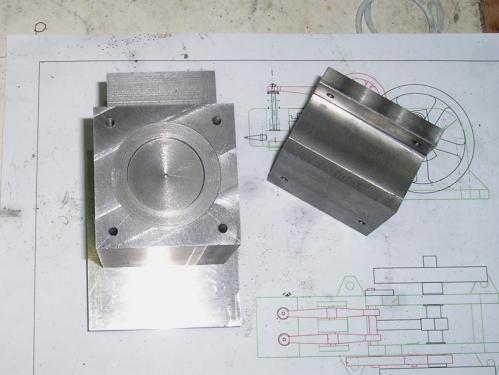
Rings to get, and grooves to cut, then it can come off the mandrel to do the inside.
Brian.

Posts: 4,513
Threads: 139
Joined: Feb 2012
Location: Kempton Park. South Africa
Excellent job Brian, looking good


DaveH
Posts: 3,798
Threads: 184
Joined: Jun 2012
Location: Farmington Hills, Michigan
It's coming along well Brian.

I'll bet that cast iron is fun to machine.
Tom


 I enjoy watching your progress.


![[Image: TomsTechLogo-Profile.png]](http://tomstechniques.com/wp-content/uploads/2013/11/TomsTechLogo-Profile.png)