07-01-2023, 12:47 PM
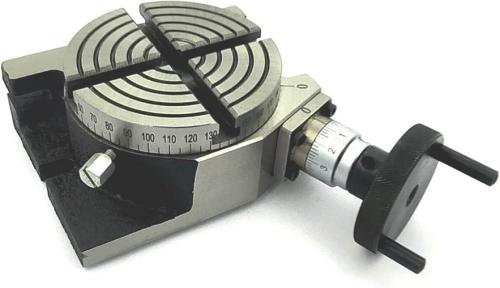
I have a 4" rotary table, similar to this one:

As I was milling (admittedly pushing it), it started to slip. Adjustment/tightening of the handwheel had no effect. It isn't the handle slipping, which I've had in the past, so I filed a small flat for the setscrew, and that holds nicely. So, I broke down the setup, and took it to the bench to disassemble. I can get the handwheel and housing off, but this doesn't let me get the table off. A screw and washer on the bottom were removed, but it's still resisting me.
The slipping seems to be with the main worm gear and the table. I can't see a setscrew on it to tighten. The gear itself and the worm mesh smoothly and show no signs of damage.
The bottom shows a bearing, what appears to be a shaft and am outer ring around that. Tapping on one or both doesn't seem to move it at all. Do I just need to release my inner animal and hammer it out? Is there a setscrew on the main gear to hold it to the table?
My current project is dead in the water until I get this fixed.
Full of ideas, but slow to produce parts


