04-24-2018, 10:55 PM
Since I now have piles of used gage blocks to clean and inspect I needed to improve upon the tools I had available to do that. I've been watching the sale ad's and ebay for several weeks and managed to pick up some pretty good deals on some new and used metrology tools.
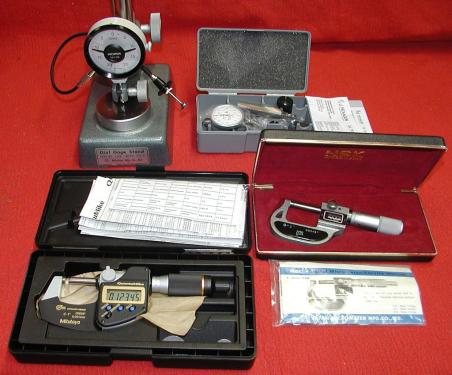
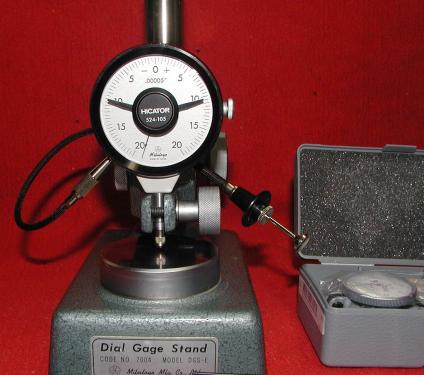
The Interapid tenth's DTI and the Mitutoyo Quantumike came from MSC. Good sale prices and discount code came at the right time. The Mitutoyo HICATOR and stand and the NSK mechanical digital micrometer were both ebay finds. I just couldn't pass up the NSK for 20 bucks. Both were pretty filthy but they cleaned up nice and work perfectly. No deep scratches but there is a little crazing on the Mitutoyo stand platen that I want to get rid of and plan on re-lapping it myself. More on that later...
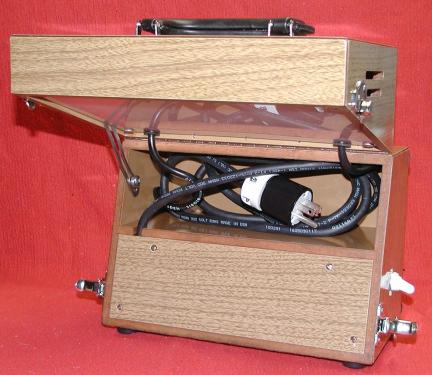
Then I took it a step farther when I spied this on ebay. It was a well used and abused Lapmaster CP-2 monochromatic inspection light. Missing the carry handle, one of the lid latches, the rubber feet, several screws and the hardware that was there was badly rusted inside and out. The power cord was rock hard and the switch housing broken with wires hanging out of it. It too was a filthy mess inside and out but it worked. I made an offer on it and it became mine.
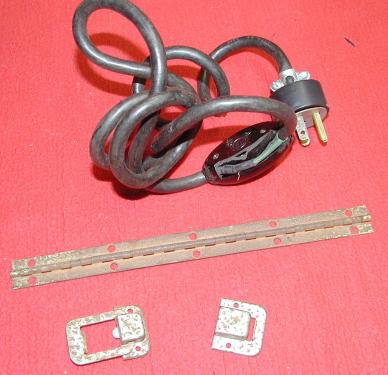
It took me quite awhile to carefully tear it apart, clean it all up, and replace the hardware. I couldn't find latches that matched the originals at McMaster so I just went with the old metal toolbox style latches. The new latches need 3 screws instead of 2 like the originals and of course the old holes didn't line up exactly. I had to fill in the original holes with epoxy - let cure for 24 hrs and then drill the new holes right next to them. Rinse and repeat for the other side since gravity won't let you do both sides at once. Same with the carry handle holes. I wanted to replace the entire power cord with a new one but couldn't. The 3,000 volt transformer housed in the bottom half of the case is completely potted in tar and there is no way to get into it. I had to cut the original primary cord and then wire it to a terminal block I added inside the case. I also installed a new toggle switch in the side of the case to replace the original in-line slide switch.
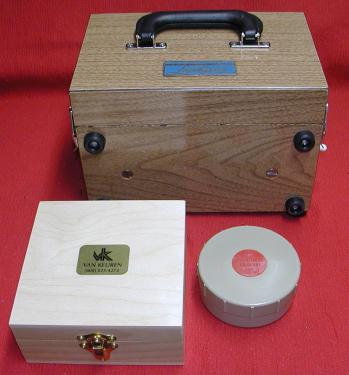
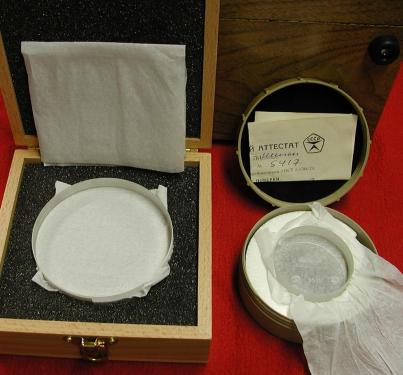
I was also able to find a couple more NOS optical flats on ebay for cheap. A pristine Van Keuren 4V 4 inch (circa 2017) and a Russian 60mm (circa 1975) without a single scratch on either of them. I have several smaller flats from Surplus shed but these will be coming in handy very soon.
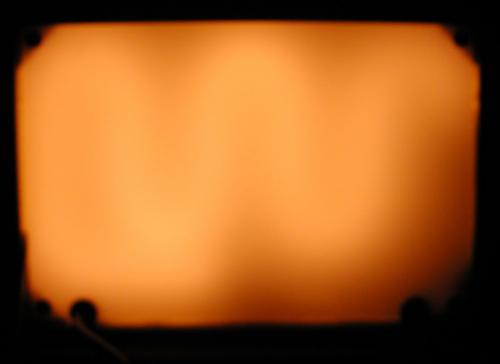
This is a view of the light from the serpentine helium tube that sits behind a white defusing plate.
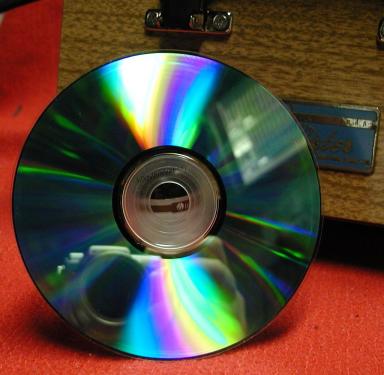
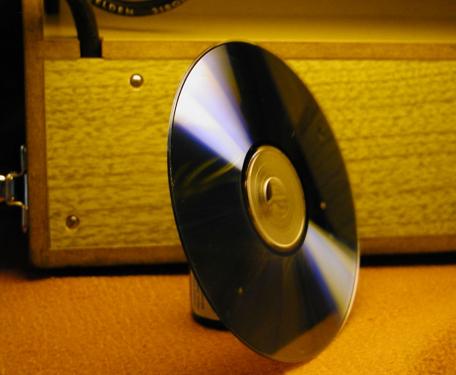
And a quick test using the CD ROM trick to view the difference between the light wavelengths (colors) given off by the overhead florescent light in my shop and the single wavelength of the monochrome light source. I'm no photographer so I'm not sure if the violet tint in the second photo was from another florescent behind me or light coming in a window behind me. Either way it wasn't easy to get the monochromatic light reflection to show up on camera.
The Interapid tenth's DTI and the Mitutoyo Quantumike came from MSC. Good sale prices and discount code came at the right time. The Mitutoyo HICATOR and stand and the NSK mechanical digital micrometer were both ebay finds. I just couldn't pass up the NSK for 20 bucks. Both were pretty filthy but they cleaned up nice and work perfectly. No deep scratches but there is a little crazing on the Mitutoyo stand platen that I want to get rid of and plan on re-lapping it myself. More on that later...
Then I took it a step farther when I spied this on ebay. It was a well used and abused Lapmaster CP-2 monochromatic inspection light. Missing the carry handle, one of the lid latches, the rubber feet, several screws and the hardware that was there was badly rusted inside and out. The power cord was rock hard and the switch housing broken with wires hanging out of it. It too was a filthy mess inside and out but it worked. I made an offer on it and it became mine.
It took me quite awhile to carefully tear it apart, clean it all up, and replace the hardware. I couldn't find latches that matched the originals at McMaster so I just went with the old metal toolbox style latches. The new latches need 3 screws instead of 2 like the originals and of course the old holes didn't line up exactly. I had to fill in the original holes with epoxy - let cure for 24 hrs and then drill the new holes right next to them. Rinse and repeat for the other side since gravity won't let you do both sides at once. Same with the carry handle holes. I wanted to replace the entire power cord with a new one but couldn't. The 3,000 volt transformer housed in the bottom half of the case is completely potted in tar and there is no way to get into it. I had to cut the original primary cord and then wire it to a terminal block I added inside the case. I also installed a new toggle switch in the side of the case to replace the original in-line slide switch.
I was also able to find a couple more NOS optical flats on ebay for cheap. A pristine Van Keuren 4V 4 inch (circa 2017) and a Russian 60mm (circa 1975) without a single scratch on either of them. I have several smaller flats from Surplus shed but these will be coming in handy very soon.
This is a view of the light from the serpentine helium tube that sits behind a white defusing plate.
And a quick test using the CD ROM trick to view the difference between the light wavelengths (colors) given off by the overhead florescent light in my shop and the single wavelength of the monochrome light source. I'm no photographer so I'm not sure if the violet tint in the second photo was from another florescent behind me or light coming in a window behind me. Either way it wasn't easy to get the monochromatic light reflection to show up on camera.
Willie


![[Image: TomsTechLogo-Profile.png]](http://tomstechniques.com/wp-content/uploads/2013/11/TomsTechLogo-Profile.png)


