Hi,
I posted this up about 3 years ago on a few other forums and thought I would post it here as well. It has grown to a 5 axis unit now.
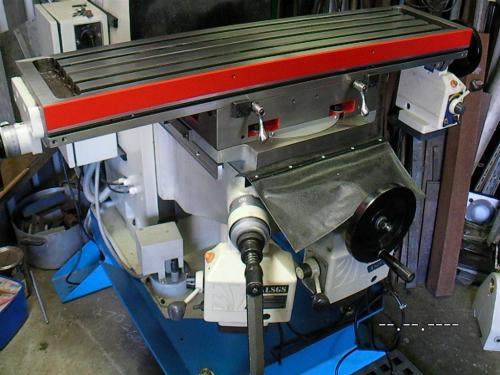
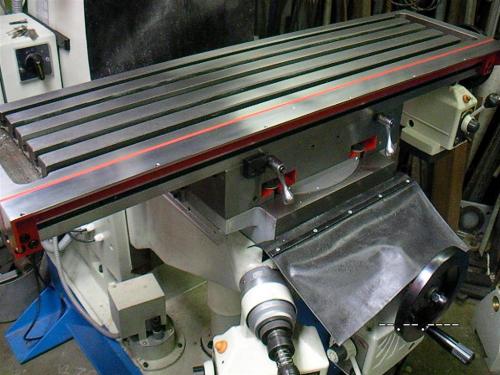
I decided to change the factory mounted scale from the back of the table to the front a while back and thought others may be interested in doing the same.
My goal was to drill the least amount of holes in the machine and to have the scale well protected from getting damaged by objects or coolant.
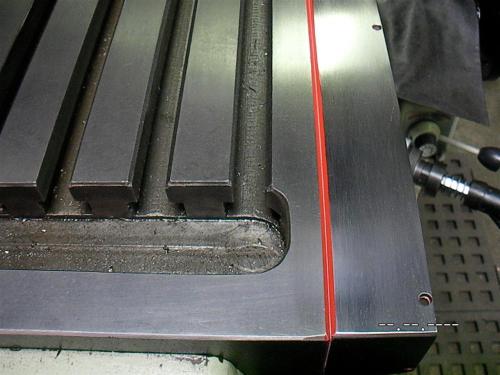
I ended up with only 2 new holes in the front of the table, which are above the T slot, in the thicker part of the table.
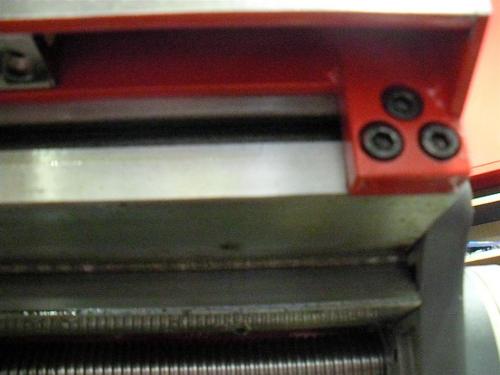
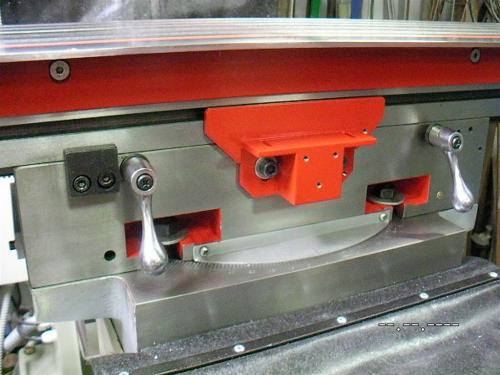
The angle is held on by 6mm counter sunk socket Head screws in those 2 holes and 3 socket head screws either end, 1 in the limit switch T slot and 2 in the original factory table stops. The new brackets holding the angle, take over being the stops for the table.
Before starting to mark the steel out, I cut it longer than needed, then sanded it all on my belt sander to give it a ground finish look. That way the tapered ends from sanding were cut off.
The steel angle is 40 x 40 x 5mm and the flat bar on the front is 40 x 6mm milled flat on the 6mm side to sit flush on the angle.
The end are caps made out of 40 x 6 also, and the table stop/brackets are made out of 32 x 12mm and both are welded to the angle.
I painted the front of the table and the back of the angle to stop rust. I also added sealer to stop coolant getting down between them.
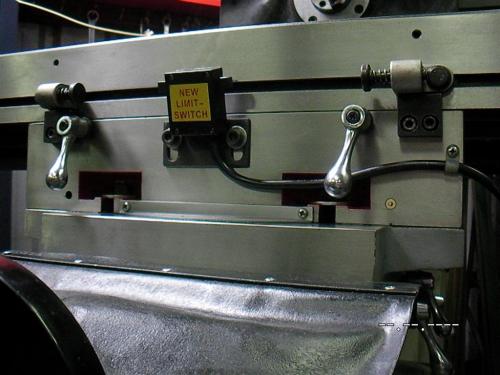
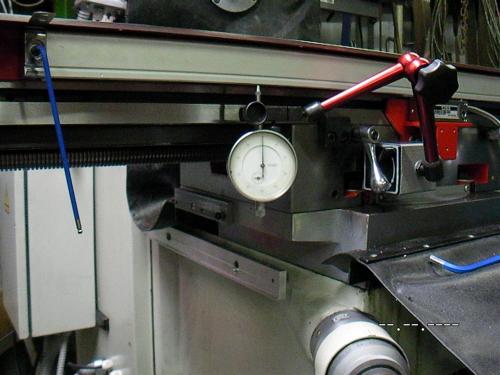
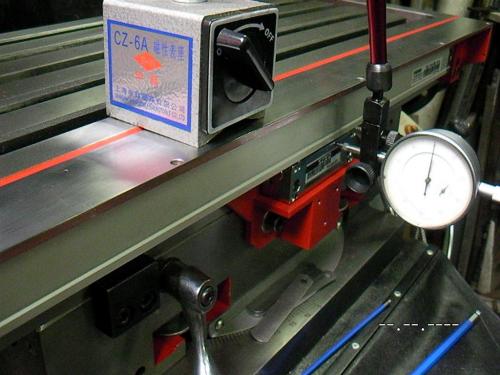
The angle on the front of the reader head bracket protects the reader head and the limit switch from damage from the power feed stops and droppings things, also coolant. The front edge is tapered down to give a drip edge to stop coolant running back under onto the limit switch.
There is a stainless steel plate that runs from behind the angle to up under the flat bar about 30mm to stop coolant running onto the reader head.
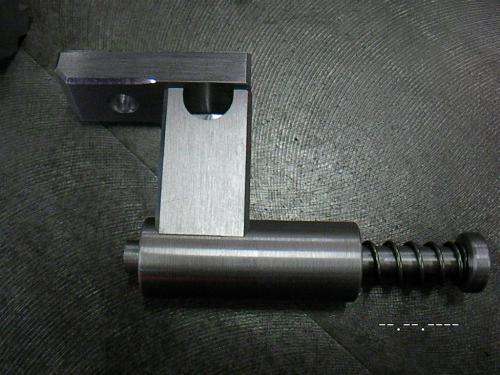
I made the power feed stops in 3 pieces, I milled pockets in them to get good penetration and hide the weld when finished.
So far it has worked as planed.
The heads of the 4mm allen head bolts were to big in height and diameter, there is a photo showing how I machined them down to suit. There is also a picture of my original drawings.
Dave


