11-21-2018, 11:44 PM
No more progress on the overarm mount yet, my Bridgeport parts came so I've done some work on the J-head including installing a MachTach.
I decided to go with a hall sensor. I expected to have to recess the magnets into the bull gear face but a little test- I stuck a magnet to the gear, put the cover on and spun the gear- confirmed there was clearance between the top of the gear and the underside of the cover.
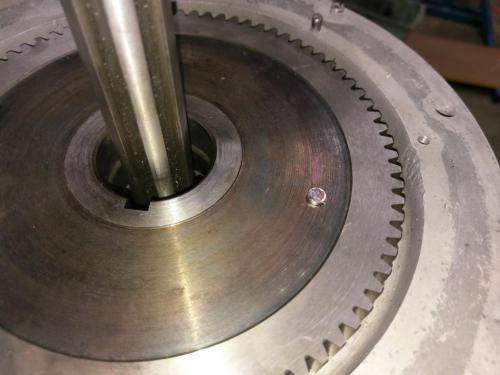
I confirmed a position above the housing where there was clearance from the timing belt. Drilled a hole in the gear cover and sighted through it to ensure the magnet passed under the hole, then used the dividing head to mark out the positions of the six magnets and placed them in position with a dab of epoxy to keep them there.
The red pencil line on the gear cover was traced on the side of the timing belt. Plenty of room at this end.
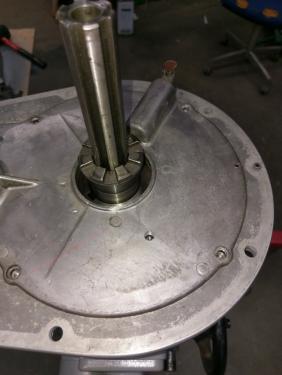
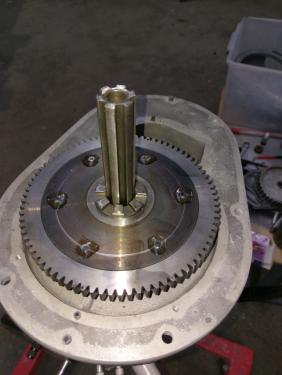
I milled a 8mm-wide groove in the top of the cover parallel with the line of the belt, finishing at the hall sensor hole.
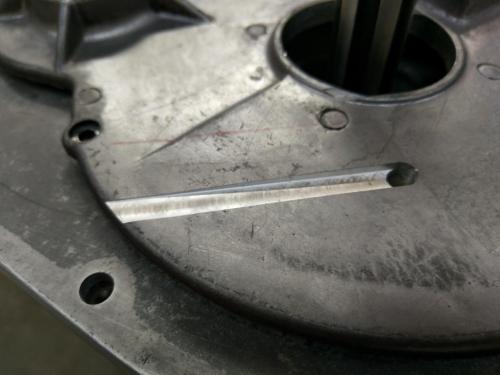
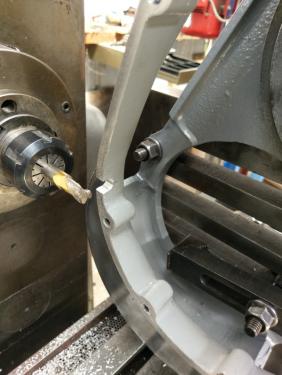
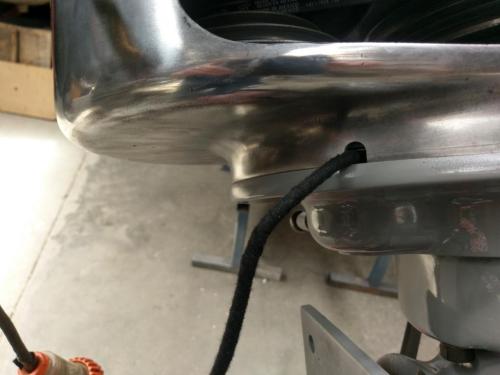
Milled a 12mm-wide slot into the rim of the top housing to provide an exit point for the hall sensor cable
drilled a blind hole in the top face of the gear housing and tapped it 1/4-20 to take a cable clamp to keep the hall cable out of mischief
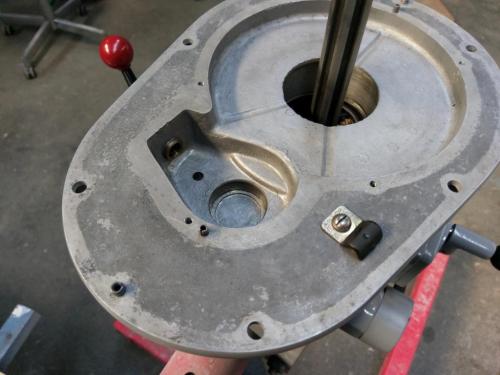
I did a little file work on the slot and hole for the hall sensor so I could lay the cable in the slot and bend the tabs on the sensor to get it down into the bottom of the hole without shorting on the metalwork anywhere. I used a lump of blu-tack to dam the bottom of the hole and then epoxied the sensor and cable in place. I had to use a couple of clothes pegs and matchsticks to hold everything in position whilst the epoxy cured overnight- couldn't avoid glueing a matchstick to the top of the cable so it ended up a bit messy but effective.
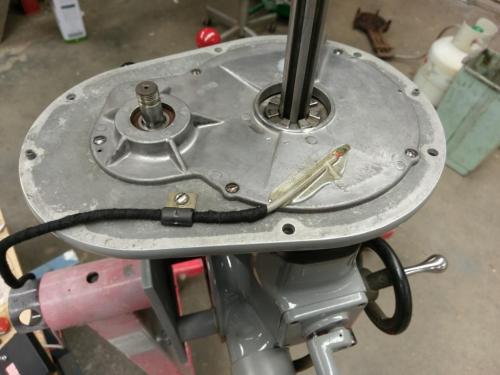
I was curious to see how the epoxy and blu-tack reacted with one another, I had to scrape the last bit of the blu-tack away from the sensor but it came away clean with not too much trouble. The hall sensor is visible in the hole from underneath:
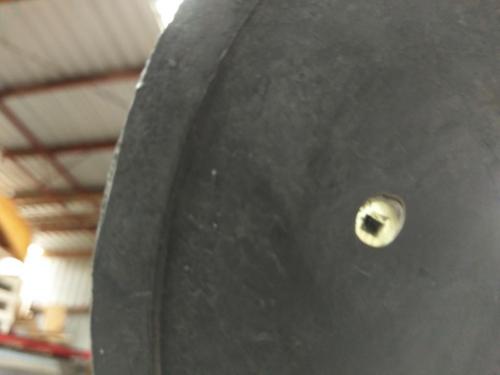
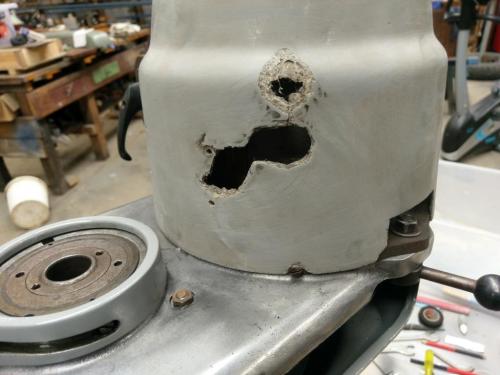
I finished up assembly of the J-head. The hall cable comes out the side adjacent to where the control switch mounts. I plan to use a VFD and to mount a control panel with remote fwd/reverse/rpm pot as well as the machtach on the side of the motor cowl where the original switch sits. there's a fair bit of fibreglass repair work to do on the cowl and the top cover is missing.
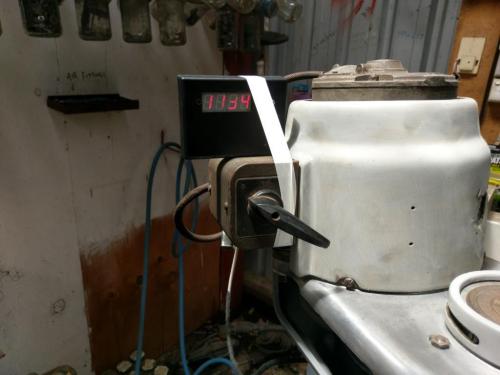
I jury-rigged the machtach and gave the J-head a test run. Everything worked nicely including the power feed but the motor bearings are noisy so will be replaced before this goes into service. I was only game to run it in the slowest belt position with the head on the engine stand but it worked in high & low range and the machtach works a treat. The missing display element on the machtach in the photo is just the camera effect.
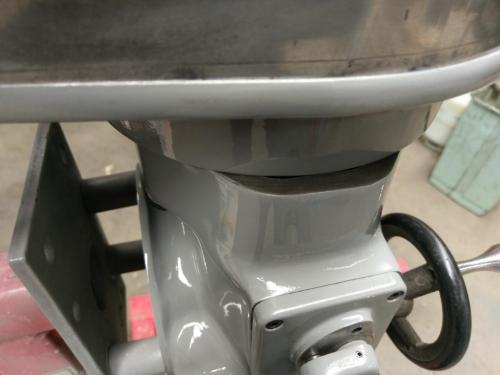
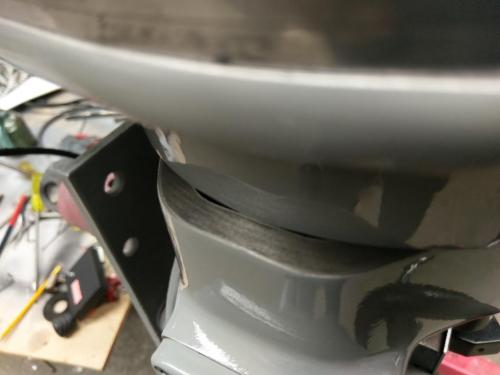
Strangely there is a gap between the top of the J-head main casting and the drive housing. I'm sure I haven't left anything out so I'm thinking perhaps this is because I didn't use any body filler on the drive housing- if it was a smidgeon fatter it would cover this gap. Unless there are better suggestions, I will seal it with a little silicon.
I decided to go with a hall sensor. I expected to have to recess the magnets into the bull gear face but a little test- I stuck a magnet to the gear, put the cover on and spun the gear- confirmed there was clearance between the top of the gear and the underside of the cover.
I confirmed a position above the housing where there was clearance from the timing belt. Drilled a hole in the gear cover and sighted through it to ensure the magnet passed under the hole, then used the dividing head to mark out the positions of the six magnets and placed them in position with a dab of epoxy to keep them there.
The red pencil line on the gear cover was traced on the side of the timing belt. Plenty of room at this end.
I milled a 8mm-wide groove in the top of the cover parallel with the line of the belt, finishing at the hall sensor hole.
Milled a 12mm-wide slot into the rim of the top housing to provide an exit point for the hall sensor cable
drilled a blind hole in the top face of the gear housing and tapped it 1/4-20 to take a cable clamp to keep the hall cable out of mischief
I did a little file work on the slot and hole for the hall sensor so I could lay the cable in the slot and bend the tabs on the sensor to get it down into the bottom of the hole without shorting on the metalwork anywhere. I used a lump of blu-tack to dam the bottom of the hole and then epoxied the sensor and cable in place. I had to use a couple of clothes pegs and matchsticks to hold everything in position whilst the epoxy cured overnight- couldn't avoid glueing a matchstick to the top of the cable so it ended up a bit messy but effective.
I was curious to see how the epoxy and blu-tack reacted with one another, I had to scrape the last bit of the blu-tack away from the sensor but it came away clean with not too much trouble. The hall sensor is visible in the hole from underneath:
I finished up assembly of the J-head. The hall cable comes out the side adjacent to where the control switch mounts. I plan to use a VFD and to mount a control panel with remote fwd/reverse/rpm pot as well as the machtach on the side of the motor cowl where the original switch sits. there's a fair bit of fibreglass repair work to do on the cowl and the top cover is missing.
I jury-rigged the machtach and gave the J-head a test run. Everything worked nicely including the power feed but the motor bearings are noisy so will be replaced before this goes into service. I was only game to run it in the slowest belt position with the head on the engine stand but it worked in high & low range and the machtach works a treat. The missing display element on the machtach in the photo is just the camera effect.
Strangely there is a gap between the top of the J-head main casting and the drive housing. I'm sure I haven't left anything out so I'm thinking perhaps this is because I didn't use any body filler on the drive housing- if it was a smidgeon fatter it would cover this gap. Unless there are better suggestions, I will seal it with a little silicon.
Lathe (n); a machine tool used in the production of milling machine components.
Milling Machine (n); a machine tool used in the production of lathe components.
Milling Machine (n); a machine tool used in the production of lathe components.


