05-12-2012, 11:29 AM
(This post was last modified: 05-12-2012, 12:41 PM by henryarnold.)
Reinstalling the quill
Earlier I had assembled the quill but had not set the preload. The tapered bearings need to have the correct amount of tension holding the tapered inner race against the bearing surfaces. The recommended procedure is to tighten the nut all the way and then back off 1/8 of a turn. Bend up a tab on the retainer plate to hold the castellated nut in position. Some people do this adjustment again after running the machine for a while.
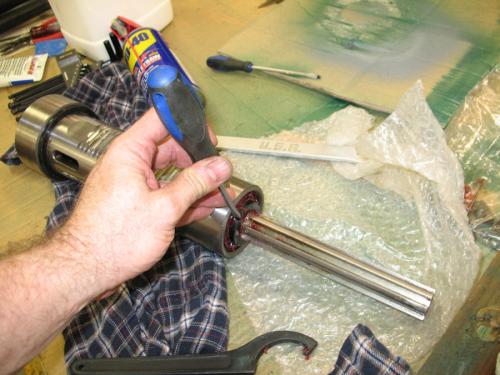
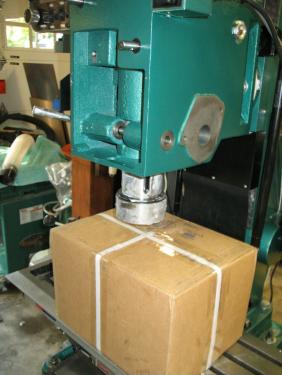
I used white grease on the quill rack gear and on the barrel. I did not like the motion of the quill with grease on the barrel so I wiped it off and used 20 wt oil instead. I'm not sure what is proper for lubrication but this should work. First reinstall your quill lock making sure the two reliefs are lined up with the quill cavity. Place some kind of soft object under you quill so if it drops, it doesn't hit your mill table. Insert the quill with a little turning motion to line up the splines with the matching spindle slots. The quill has a slot on the left side that needs to line up with a guide pin that is installed next to the return spring. Install that pin, tighten it, and then back off about a 1/4 turn, and lock the nut. Engage the down feed lock so the quill doesn't fall out.
Install the down feed shaft after lubricating the gears. I used white grease.
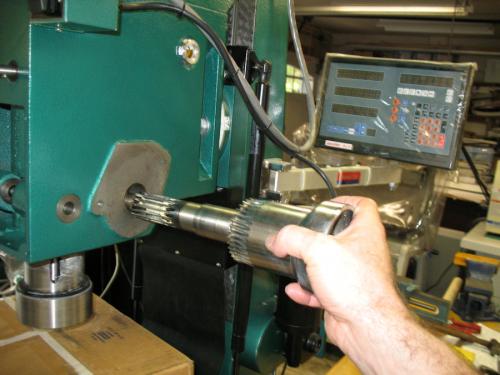
Install the key and spring for the down feed handle and slide the handle assembly on and screw on the retaining hand nut. That's the black handle used to release the fine down feed.
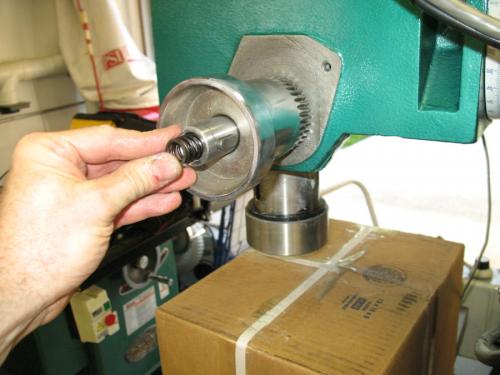
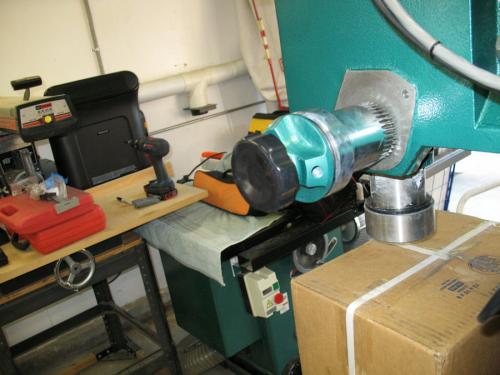
Attach the round plate that the down feed spring connects to with three screws. Install the flat head screw into the down feed shaft which clips on to the end of the down feed spring. Attaching the spring is a little tricky. You have to fiddle with the spring it until it catches. Do the next step carefully. Using gloves or a rag, turn the down feed spring counterclockwise to put tension on it. You don't have to do it in one big motion. You can do it a few half turns at a time. Each time you turn it, re-catch the down feed spring housing on the plate which has a pin to hold it. When you get the right amount of tension, the quill will return gracefully to top of it's available travel. Once the spring has the right amount of tension, replace the hand nut that holds the spring housing in place.
Earlier I had assembled the quill but had not set the preload. The tapered bearings need to have the correct amount of tension holding the tapered inner race against the bearing surfaces. The recommended procedure is to tighten the nut all the way and then back off 1/8 of a turn. Bend up a tab on the retainer plate to hold the castellated nut in position. Some people do this adjustment again after running the machine for a while.
I used white grease on the quill rack gear and on the barrel. I did not like the motion of the quill with grease on the barrel so I wiped it off and used 20 wt oil instead. I'm not sure what is proper for lubrication but this should work. First reinstall your quill lock making sure the two reliefs are lined up with the quill cavity. Place some kind of soft object under you quill so if it drops, it doesn't hit your mill table. Insert the quill with a little turning motion to line up the splines with the matching spindle slots. The quill has a slot on the left side that needs to line up with a guide pin that is installed next to the return spring. Install that pin, tighten it, and then back off about a 1/4 turn, and lock the nut. Engage the down feed lock so the quill doesn't fall out.
Install the down feed shaft after lubricating the gears. I used white grease.
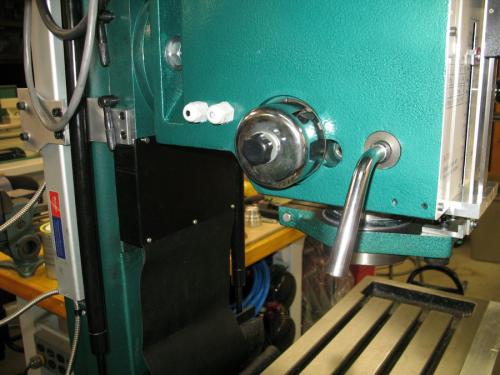
Install the key and spring for the down feed handle and slide the handle assembly on and screw on the retaining hand nut. That's the black handle used to release the fine down feed.
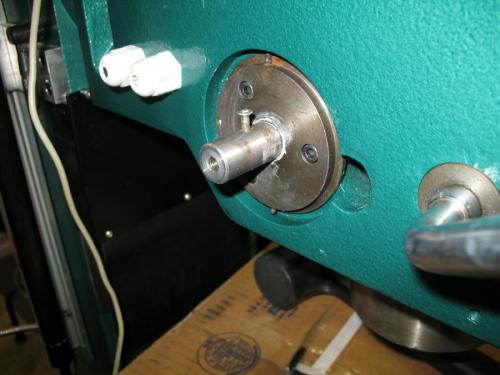
Attach the round plate that the down feed spring connects to with three screws. Install the flat head screw into the down feed shaft which clips on to the end of the down feed spring. Attaching the spring is a little tricky. You have to fiddle with the spring it until it catches. Do the next step carefully. Using gloves or a rag, turn the down feed spring counterclockwise to put tension on it. You don't have to do it in one big motion. You can do it a few half turns at a time. Each time you turn it, re-catch the down feed spring housing on the plate which has a pin to hold it. When you get the right amount of tension, the quill will return gracefully to top of it's available travel. Once the spring has the right amount of tension, replace the hand nut that holds the spring housing in place.
henryarnold, proud to be a member of MetalworkingFun Forum since Apr 2012.


