Posts: 437
Threads: 24
Joined: Sep 2012
Location: Sicily
So it's on with the crank. Turning a large piece of EN24T on my 7x12 was not fun ,made two buckets full of the blue stringy stuff.
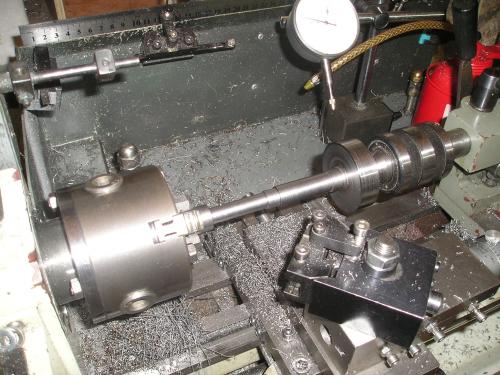
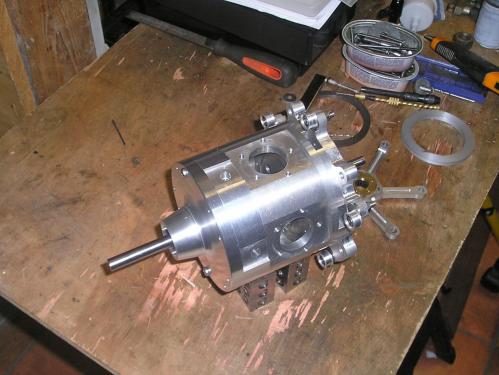
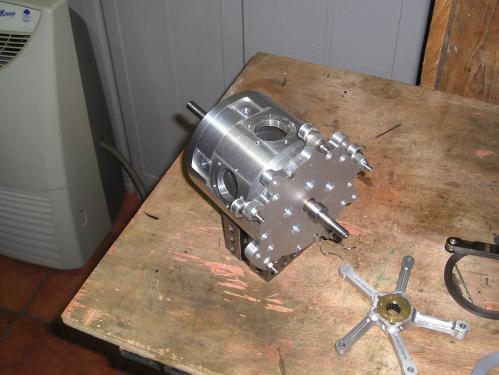
A temporary crank pin that was a light press fit allowed the complete casing to be assembled and tested for alignment all looks good the crank spins freely. The jigs have proved to be invaluable. all six sections perfectly in line.
Brian

Posts: 3,798
Threads: 184
Joined: Jun 2012
Location: Farmington Hills, Michigan
Looks like your EN24T is like our O1 tool steel. Not surprised about the bucket of blue chips. Will you be hardening the crank at all?
Tom
Posts: 437
Threads: 24
Joined: Sep 2012
Location: Sicily
Hi Tom Sorry for the slow reply I have been a mite occupied lately.
EN24T is equivalent to 4340 as I understand and requires no further heat treatment.
It took a toll on my carbide tips for sure.
Brian.
Posts: 437
Threads: 24
Joined: Sep 2012
Location: Sicily
The following 5 users Like Brian's post:
arvidj (12-07-2019), f350ca (12-07-2019), EdK (12-07-2019), Vinny (12-07-2019), Hawkeye (12-07-2019)
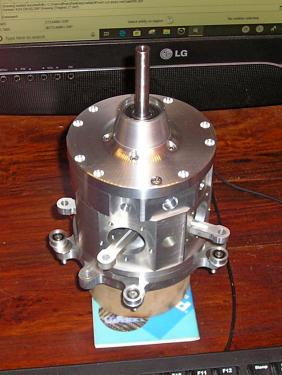
Just to keep you up to date, the latest Photograph showing the case assembly with the connecting rods in place .
Brian.

Posts: 437
Threads: 24
Joined: Sep 2012
Location: Sicily
A long day in the shop and i finally got the motor together with all the valve clearances done ETC.
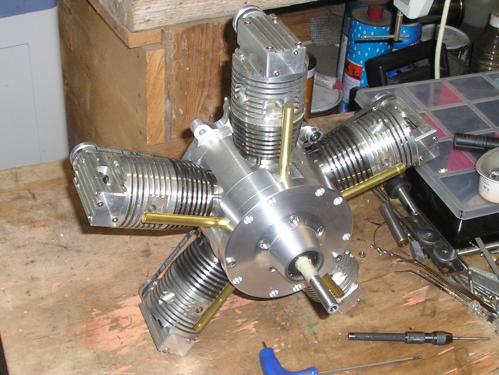
A question often asked is how am I going to set the valve timing., now I can show you.
Turn the cylinder to be timed to TDC ( this will have a mark on the prop flange )
Loosen the cam coupling..
Turn the cam to the valve overlap position and insert the timing pin to lock it in the corect place.
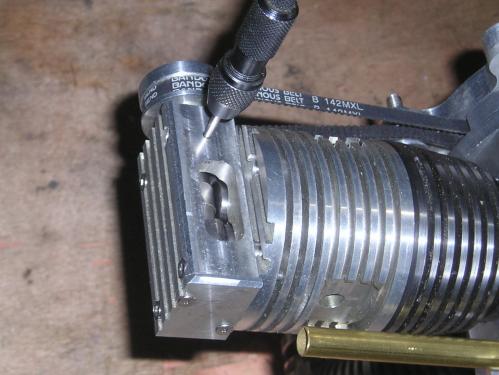
Lock up the cam coupling.
Move to the next cylinder in the fireing order.
Brian

Posts: 3,798
Threads: 184
Joined: Jun 2012
Location: Farmington Hills, Michigan
Looking good Brian!

How is the cam coupling designed, that it won't slip over time? I would think you would want it keyed.
Tom
Posts: 4,463
Threads: 184
Joined: Feb 2012
Location: Missouri, USA
Post # 207 and # 213. Looks like 2 set screws placed 90° apart.
Willie
Posts: 437
Threads: 24
Joined: Sep 2012
Location: Sicily
Good observation Willie also a screw at the end of the cam to pull it all together before the final tightening of the cam and ignition set screws. the torque necessary to turn the cam is very small so I do not envisage any problems.
Brian.
Posts: 437
Threads: 24
Joined: Sep 2012
Location: Sicily
Happy new year.
The latest photo showing the progress with with the inlet manifold the carburetor will be mounted behind the engine through the
bulkhead .
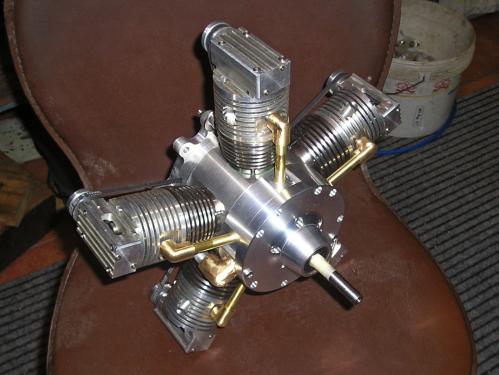
Brian

Posts: 8,863
Threads: 319
Joined: Feb 2012
Location: Arizona/Minnesota


![[Image: TomsTechLogo-Profile.png]](http://tomstechniques.com/wp-content/uploads/2013/11/TomsTechLogo-Profile.png)
