05-16-2014, 12:39 PM
I have always been fascinated with firearms and it has been my dream to someday build one. I own several and enjoy them so my next step is to make one of my own. In 2012 I was able to finally get my hands on a lathe and milling machine that would enable my home project work. My retired friend in Denver, who had a long career as a machinist/tool maker/model maker, has been sending me packages of surplus tooling he accumulated during his career. The only thing left on my tooling list that is absolutely necessary is a milling vise.
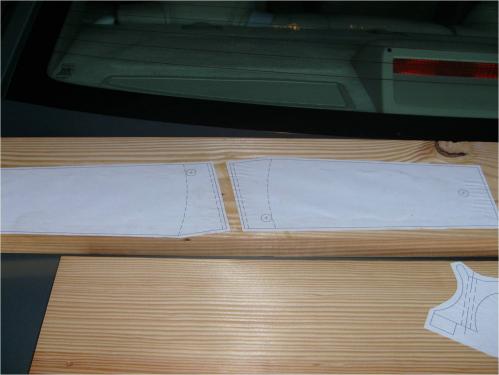
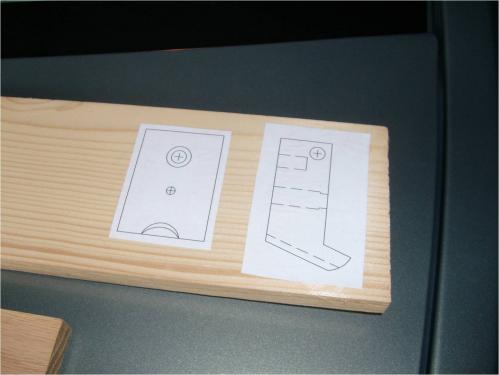
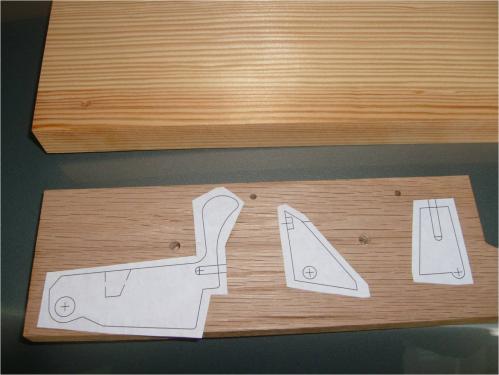
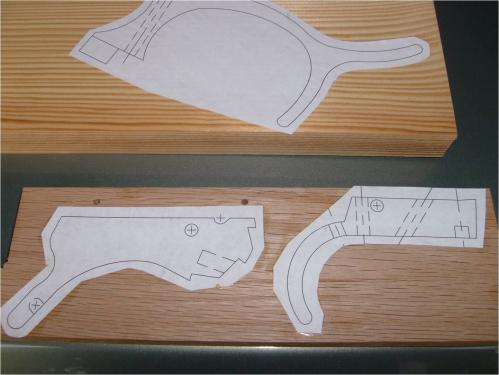
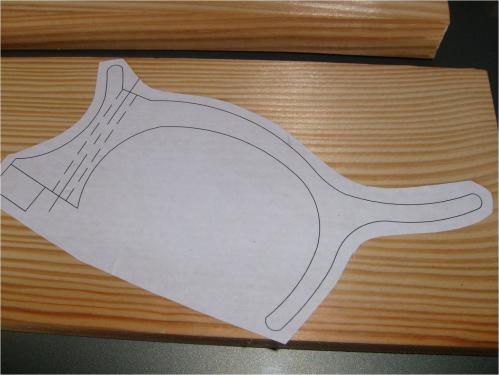
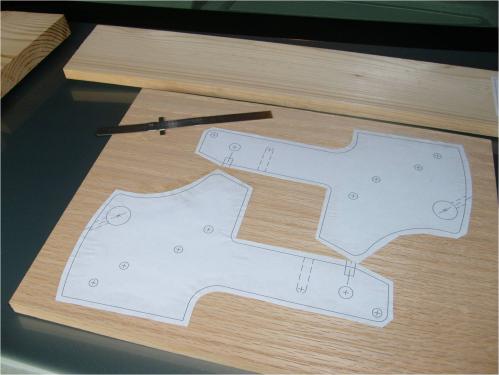
I have purchased almost all of the books that Frank De Haas wrote and have been studying them for a couple of years. Taking his advice I am first going to build a model action of the Chicopee CF centerfire using wood. I drew up the receiver and action in AutoCAD and plotted out the pieces at twice scale. Then the individual parts of the drawing were cut out and glued to the appropriate size and thicknesses of wood. Here are some pictures.
I have been working 6 days a week for the last 11 months and the project is finally winding down. We just got our Saturdays back and next week I am taking a whole week of vacation. I intend to starting whittling on these pieces to make a double size working Chicopee model. Once the model is more or less done I intend to forge ahead with one made of steel.
Probably most of you all are familiar with the Chicopee design and its history. As I move along I will post plenty of pictures and commentary on the various parts and their functions for those that are newbs like me. I am completely open to advice and suggestions and I will be asking for help along the way.
Your patience and appreciation is greatly appreciated. JScott
I have purchased almost all of the books that Frank De Haas wrote and have been studying them for a couple of years. Taking his advice I am first going to build a model action of the Chicopee CF centerfire using wood. I drew up the receiver and action in AutoCAD and plotted out the pieces at twice scale. Then the individual parts of the drawing were cut out and glued to the appropriate size and thicknesses of wood. Here are some pictures.
I have been working 6 days a week for the last 11 months and the project is finally winding down. We just got our Saturdays back and next week I am taking a whole week of vacation. I intend to starting whittling on these pieces to make a double size working Chicopee model. Once the model is more or less done I intend to forge ahead with one made of steel.
Probably most of you all are familiar with the Chicopee design and its history. As I move along I will post plenty of pictures and commentary on the various parts and their functions for those that are newbs like me. I am completely open to advice and suggestions and I will be asking for help along the way.
Your patience and appreciation is greatly appreciated. JScott
JScott, proud to be a member of MetalworkingFun Forum since Mar 2014.


