01-22-2013, 12:40 AM
I have three mills, from a small X2 mini to a ZX-25 mill/drill to a 60-ish Victoria U2 horizontal with a vertical head. I was thinking I should sell the mini since it wasn't getting much use. Then I thought about some items that would be easiest to make on a CNC. That's all it takes for the disease to take route.
Be warned! Don't read any further if you really don't want to get into CNC. It can be contagious.
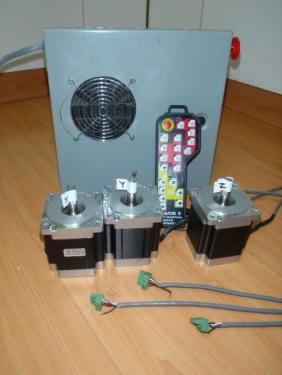
I ordered some stepper motors, a control board, a power supply, some ballscrews and nuts, and a control pendant from eBay. Most guys doing the X2 conversion seem to choose the kit from CNC Fusion. I have a fully equipped machine shop, so I figured I could make the adapters and motor mounts myself.
I mounted the control board and power supply in a 12 x 12 junction box and added a cooling fan. This will bolt to the left side of the mill's stand.
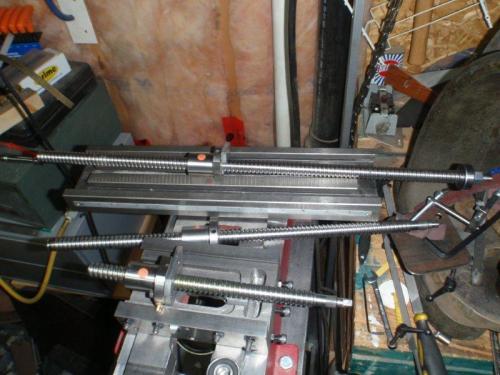
The ballscrews came as raw screws without the turned and threaded end to take the bearing and motor coupling. I did these operations on the lathe and then milled the flats for the setscrews.
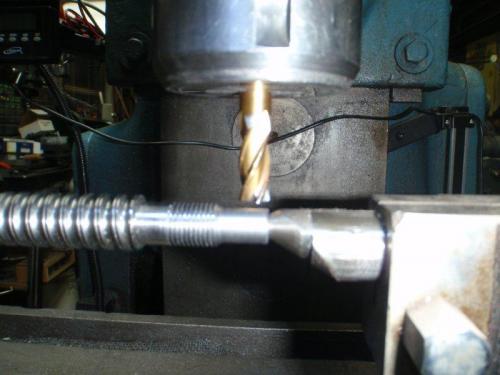
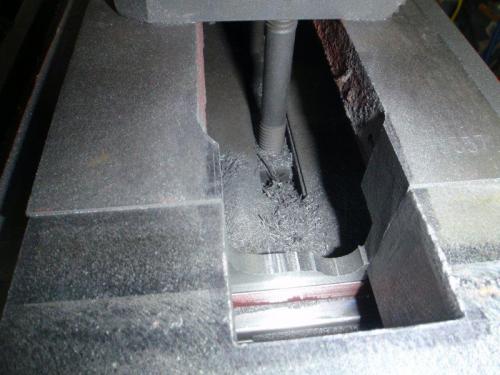
The X2 has less than 4" of Y travel, so I cut a piece of cast iron to make an extension for the ways. After it was bolted on, I milled away some of the former front of the base to allow the table to pass.
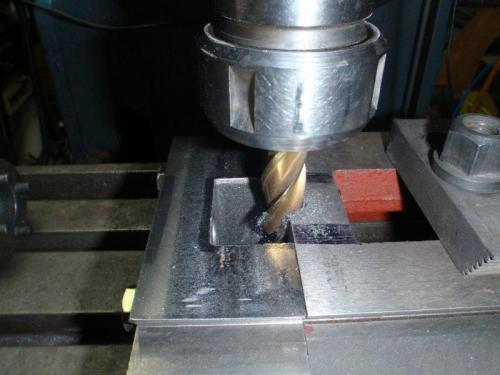
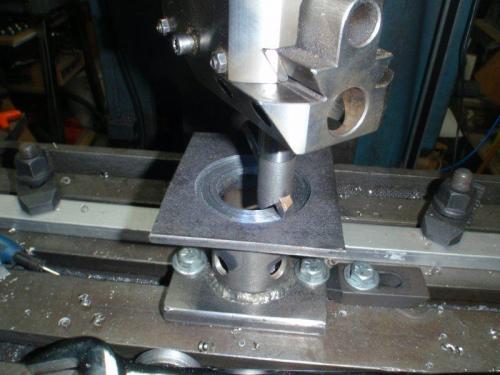
The motor mounts are welded and machined steel.
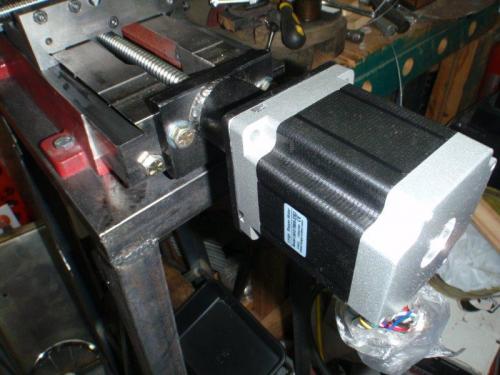
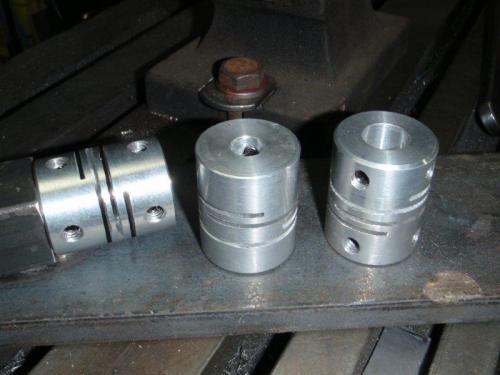
The motors I ordered are a lot bigger than needed for this size of mill. The output shafts are 14mm. I needed large couplings, so I made them from aluminum.
In order to have the centre of the work area at the centre of the table, I shimmed the head out from the column by about 13/16".
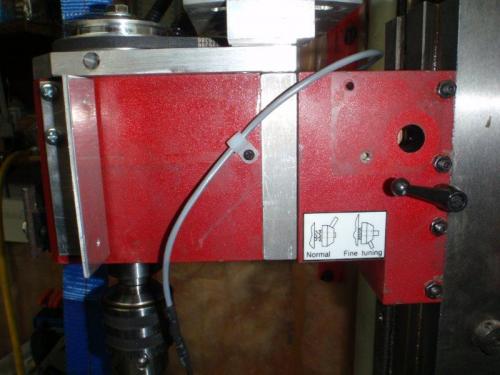
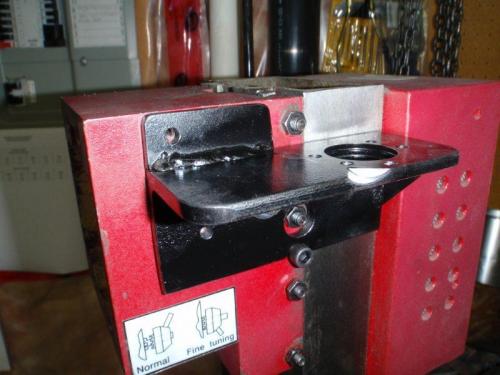
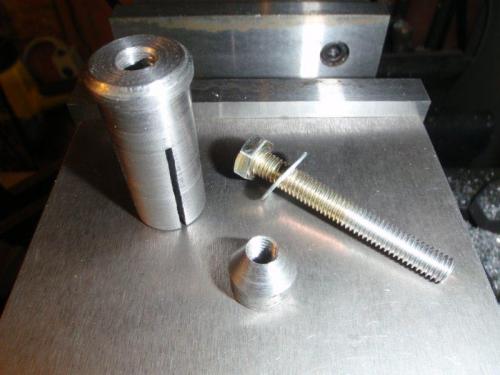
The last piece I have made so far is the bracket to attach the ballnut to the milling head for the Z-axis. The main attachment for the bracket is a press-fitted expandable shaft that locks into the hole formerly occupied by the Z-axis handle shaft.
Be warned! Don't read any further if you really don't want to get into CNC. It can be contagious.
I ordered some stepper motors, a control board, a power supply, some ballscrews and nuts, and a control pendant from eBay. Most guys doing the X2 conversion seem to choose the kit from CNC Fusion. I have a fully equipped machine shop, so I figured I could make the adapters and motor mounts myself.
I mounted the control board and power supply in a 12 x 12 junction box and added a cooling fan. This will bolt to the left side of the mill's stand.
The ballscrews came as raw screws without the turned and threaded end to take the bearing and motor coupling. I did these operations on the lathe and then milled the flats for the setscrews.
The X2 has less than 4" of Y travel, so I cut a piece of cast iron to make an extension for the ways. After it was bolted on, I milled away some of the former front of the base to allow the table to pass.
The motor mounts are welded and machined steel.
The motors I ordered are a lot bigger than needed for this size of mill. The output shafts are 14mm. I needed large couplings, so I made them from aluminum.
In order to have the centre of the work area at the centre of the table, I shimmed the head out from the column by about 13/16".
The last piece I have made so far is the bracket to attach the ballnut to the milling head for the Z-axis. The main attachment for the bracket is a press-fitted expandable shaft that locks into the hole formerly occupied by the Z-axis handle shaft.
Mike
If you can't get one, make one.
Hawkeye, proud to be a member of MetalworkingFun Forum since Jan 2013.
If you can't get one, make one.
Hawkeye, proud to be a member of MetalworkingFun Forum since Jan 2013.


