OK - well I had a win over the weekend and then a major balls up

Since I started this post, I haven't done any single point threading on my lathe, as I haven't really needed to and the few times I did, the job was small and better suited to the 10" lathe my friend has (conveniently) set up in my workshop.
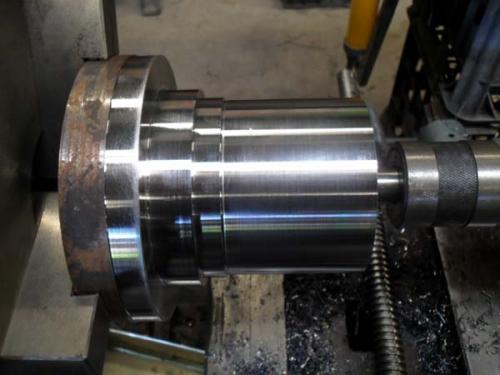
I recently managed to acquire a free lump of metal from a friend, which was big enough to have the copy of the spindle nose of my lathe hiding within it. It came from a hydraulic shop and is an alloy of some sort, as it machines very nice and I actually had to use a slower speed on my lathe, as I was getting sparks dance off the insert I was using (one that Ken gave me but I forget the grade). I found that a 1mm DOC was best, with a steady hand feed and this produced a nice finish, as well as tightly curled chips that came off the work straw coloured and then turned a nice blue. The chips were about 30mm in length.
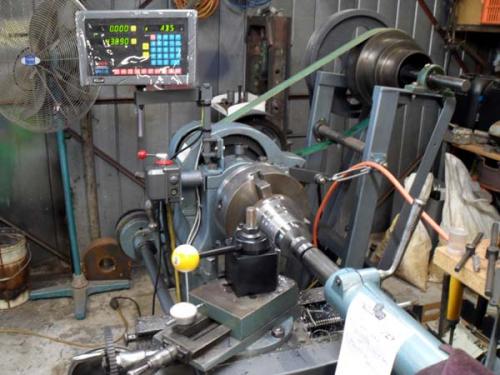
The newly installed DRO made life a lot easier, as I didn't have to mess about with a DI on the cross slide and also made longitudinal cuts easier (no dial!). So, all was good and the part was turned to size.

Next step was the threading, which had been an issue and was the basis for this thread (no pun intended). In setting everything up, I recall a comment made by Tom in one of his videos about the compound slide being parallel to the trailing edge of the threading tool, which in this case should be 30° from the perpendicular. I noticed that when I swung my compound slide into (what I thought was the correct) position, it wasn't parallel.
Now my compound slide has 45° - 90° - 45° graduations, so I had been setting it at the 60° mark (i.e. 30° from the centre). This was wrong (oh, so wrong). So, using a protractor, I set the compound slide the 30° and strangely enough, it all looked good. So my sincere apologies to those who asked if I had the compound set to the correct angle...
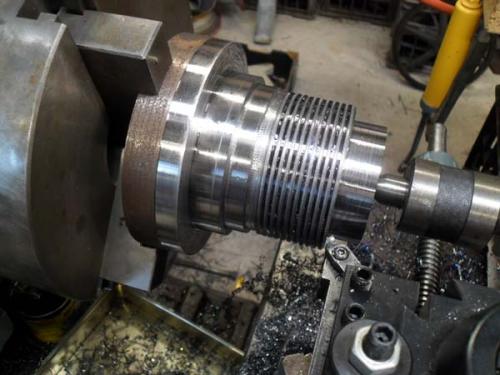
I also turned down a section at the front of the job that would be removed later but would allow me to move the tool past the work sufficiently enough to ensure any backlash was taken up. I then set the gears and did several scratch passes to ensure that I had the correct gears and that the tool was tracking the same path each time. All looked good and the thread took shape nicely. The 6 tpi insert used is in a borrowed top-lock tool holder and cut with minimal effort and left a good finish. I was threading at about 70 rpm, which is slow but the 2 tpi leadscrew does hurry things up a bit!

The crests are black, as I used a sharpie to colour the threaded section to better see the scratch passes.

As the thread got deeper, I realised that I hadn't made the relief groove deep enough and with the mass of my lathe and the absence of a brake, I wanted some comfort. So, given that I have a QCTP, I decided to switch tools and make the groove deeper. With that done, I put the threading tool back in and put the cross slide back to the zero position (much easier to do with a DRO) and took a spring cut. Well, that spring cut produced a rather thick, hot chip and in the time it took me to react and withdraw the tool the thread was ruined. Instead of taking a spring cut, I took a large cut out of the crest of the thread - perfectly bisecting the existing thread. It took me a minute to figure out the very stupid mistake that I made. Yes - you guessed it, I had disengaged the leadscrew when increasing the thread relief groove, thus losing the relationship between the chuck and the change gears

Sorry - I couldn't bring myself to take pictures of the carnage

That is a lesson I'll not forget.


 Sorry - I couldn't bring myself to take pictures of the carnage
 -so you are not special Darren
